Compare what you have played.
Agent and map comparisons need your stored match history. Any future practice suggestion must show its sample size and limits.
How account linking works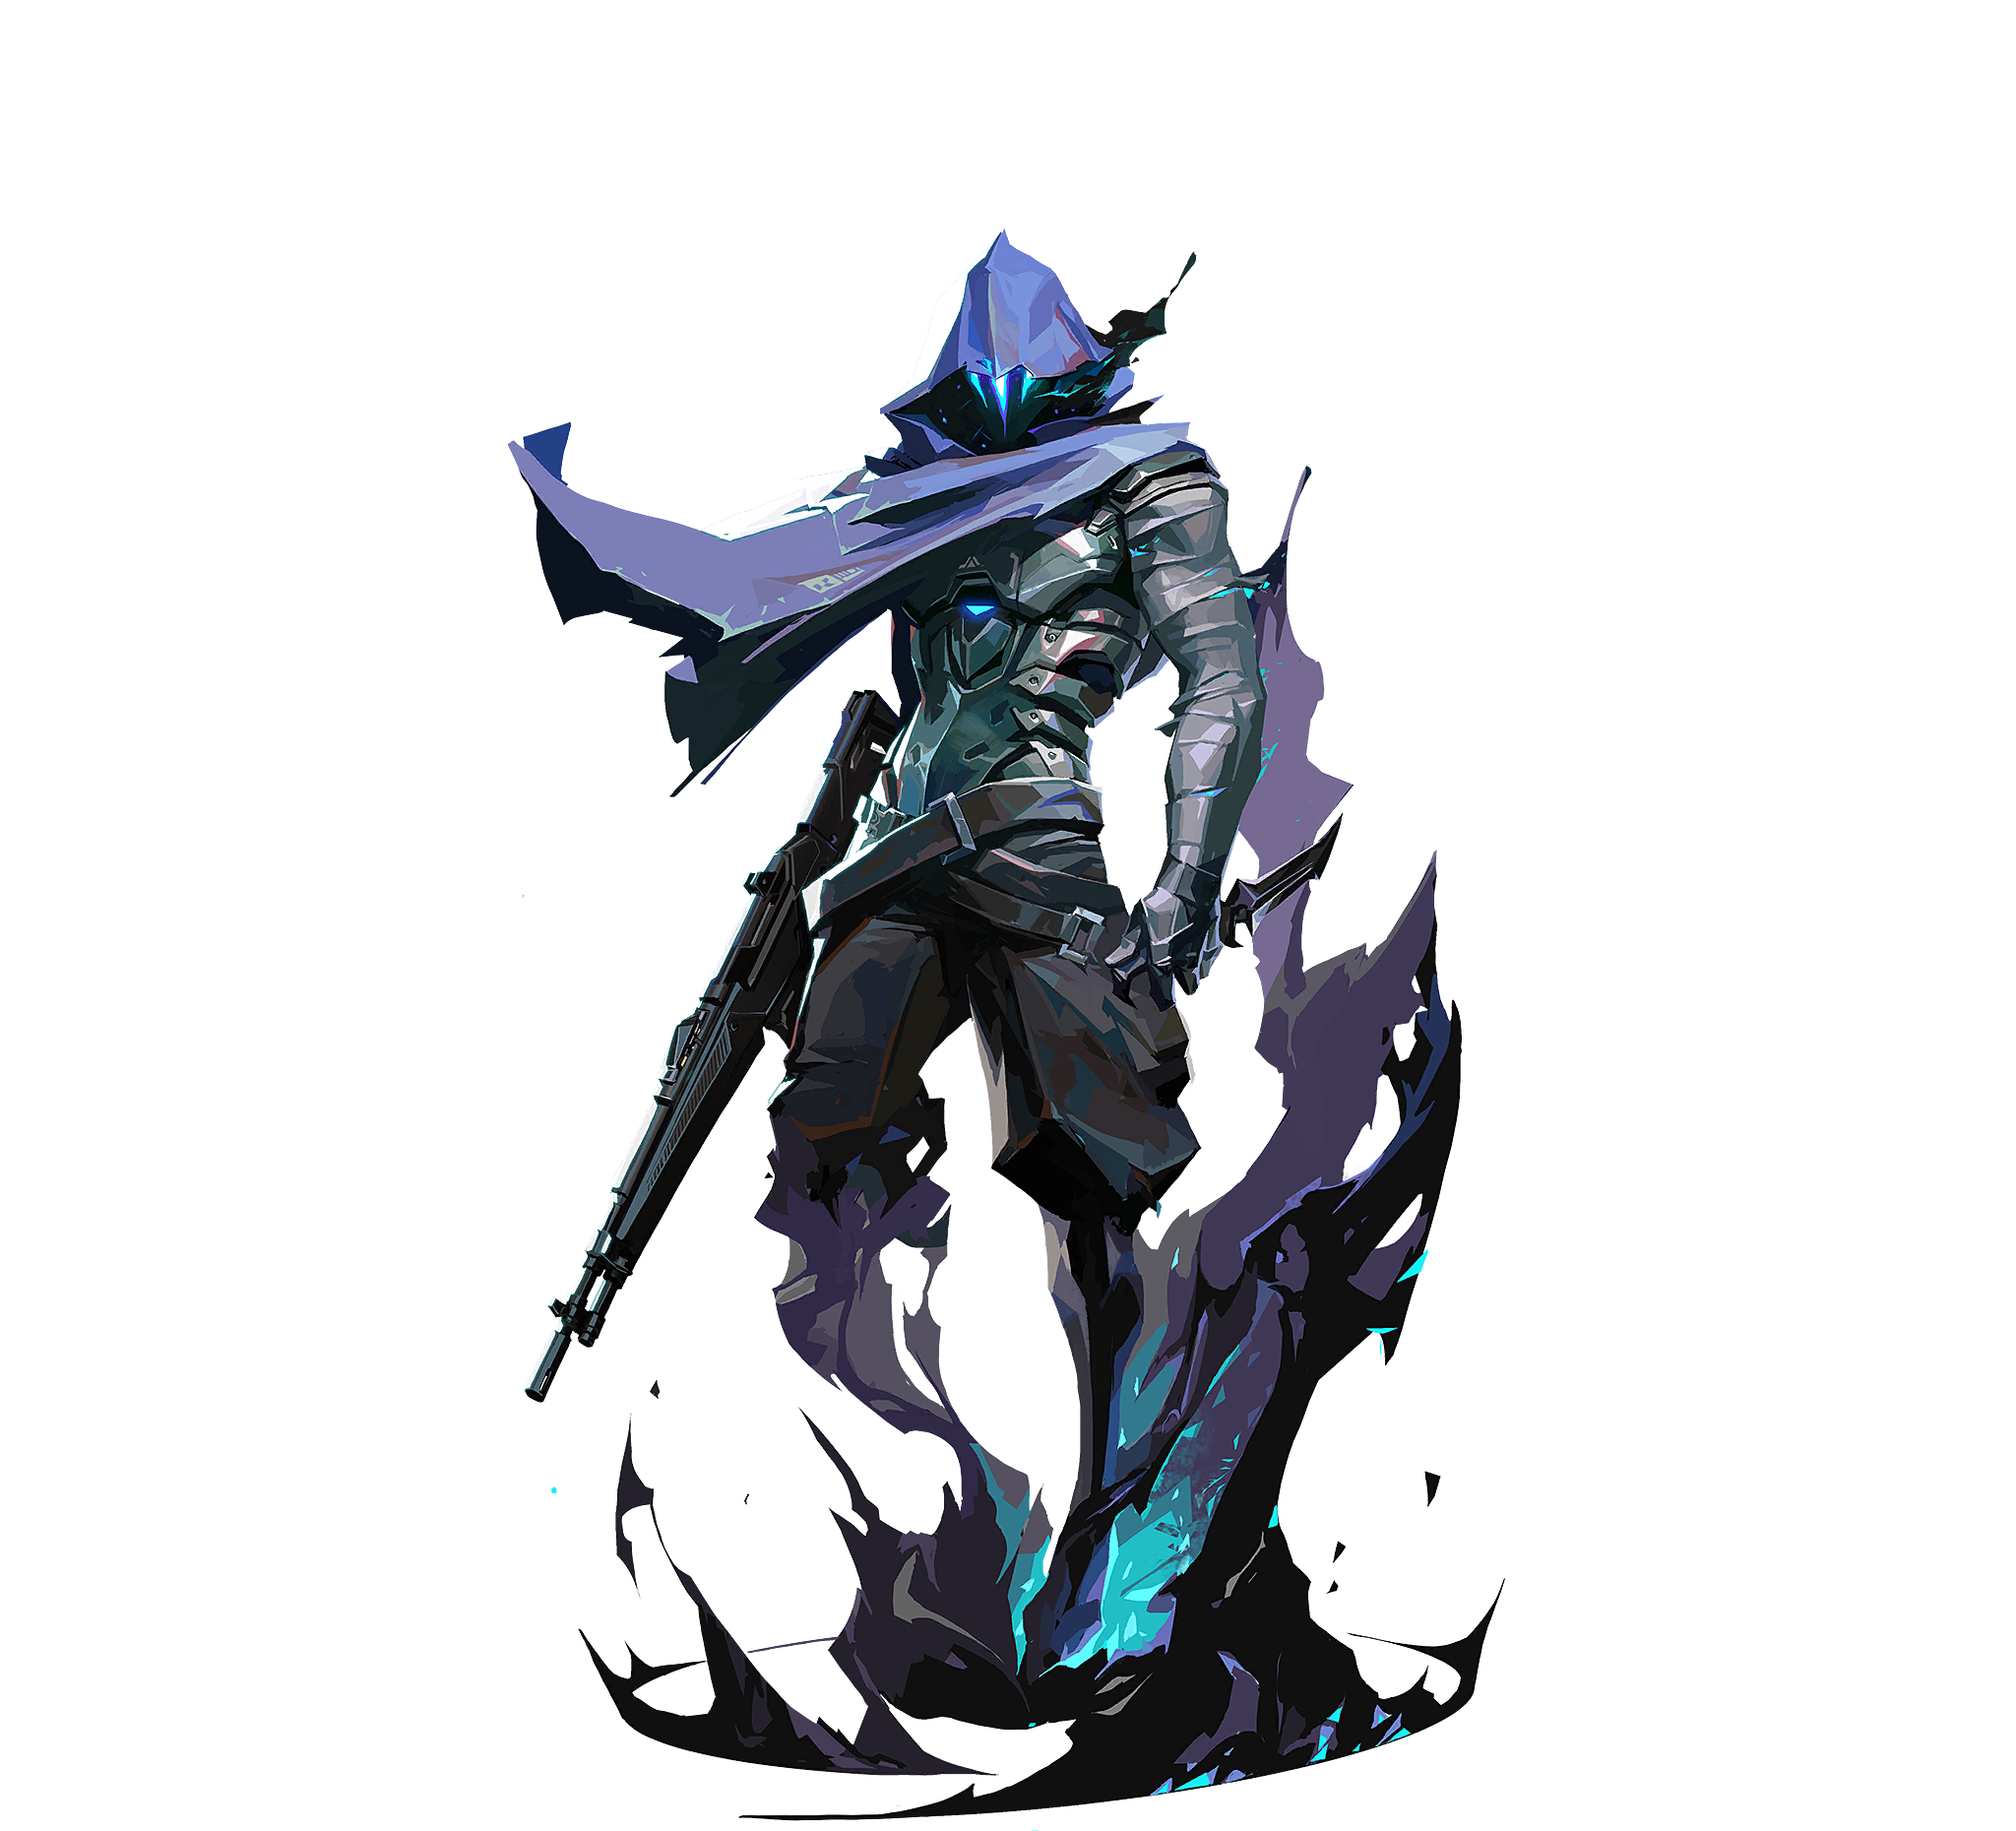
No agent comparison yet.
Once matches are stored, this view will compare your observed agents by map and show how many matches support each result. It will not predict the outcome of an agent you have never played.
What the comparison will need.
Authorized history tied to your linked account.
Known fields from supported match details, with missing data shown plainly.
Suggestions appear only after a real-data model beats its baselines and can explain uncertainty.
Know the field.
Open an agent, map, or weapon for a practical focus. Guides are general play advice, not your personal match analysis.
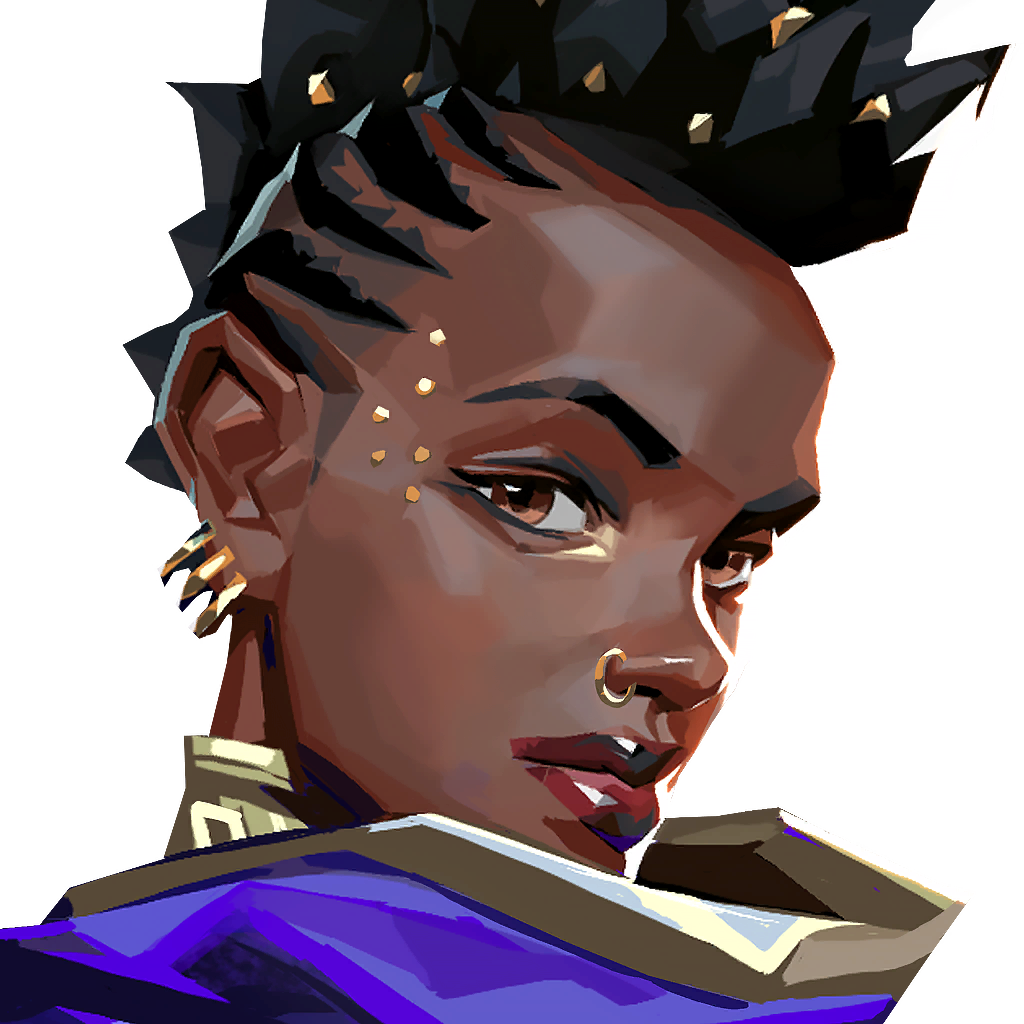 AstraController
 Nova Pulse
 Nebula / Dissipate
 Gravity Well
 Astral Form / Cosmic Divide
 Astral Form
Use your utility to cut sightlines for a specific team move, then check whether teammates can use that space.
Before a round, name the sightline you want to deny and the teammate who will use the opening. Try this with Nova Pulse in mind.
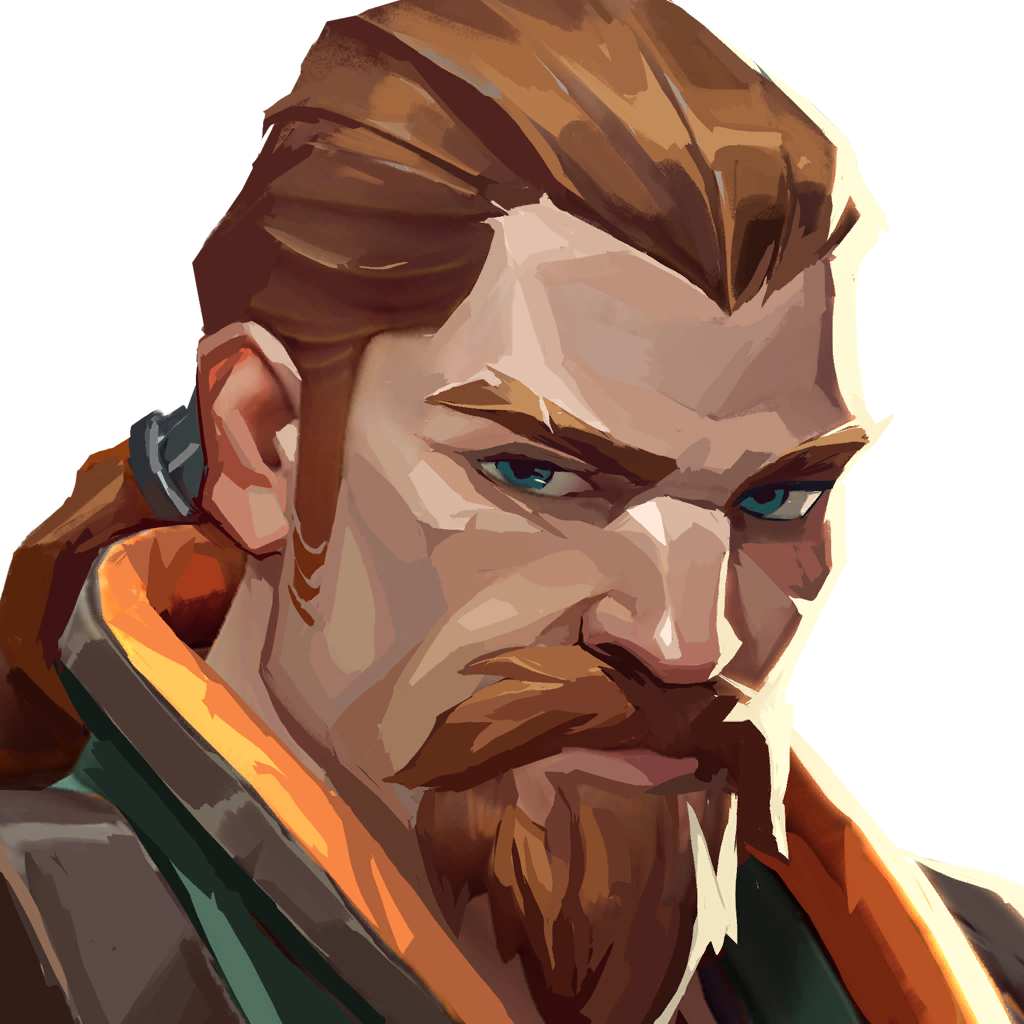 BreachInitiator
 Flashpoint
 Fault Line
 Aftershock
 Rolling Thunder
Flashpoint bursts through a wall and blinds players looking at it. Coordinate the flash with a teammate instead of treating it as a complete clear.
In a custom game before queueing, choose one wall beside an entry and rehearse where Flashpoint appears on the other side. Call the flash before a teammate follows, and name one angle it does not check.
Source limit: Riot describes the through-wall blind, not a safe flash spot, teammate timing, or guaranteed entry; allies looking at the burst can also be blinded.
Ask the field manual about Breach →Build a practice plan with Breach →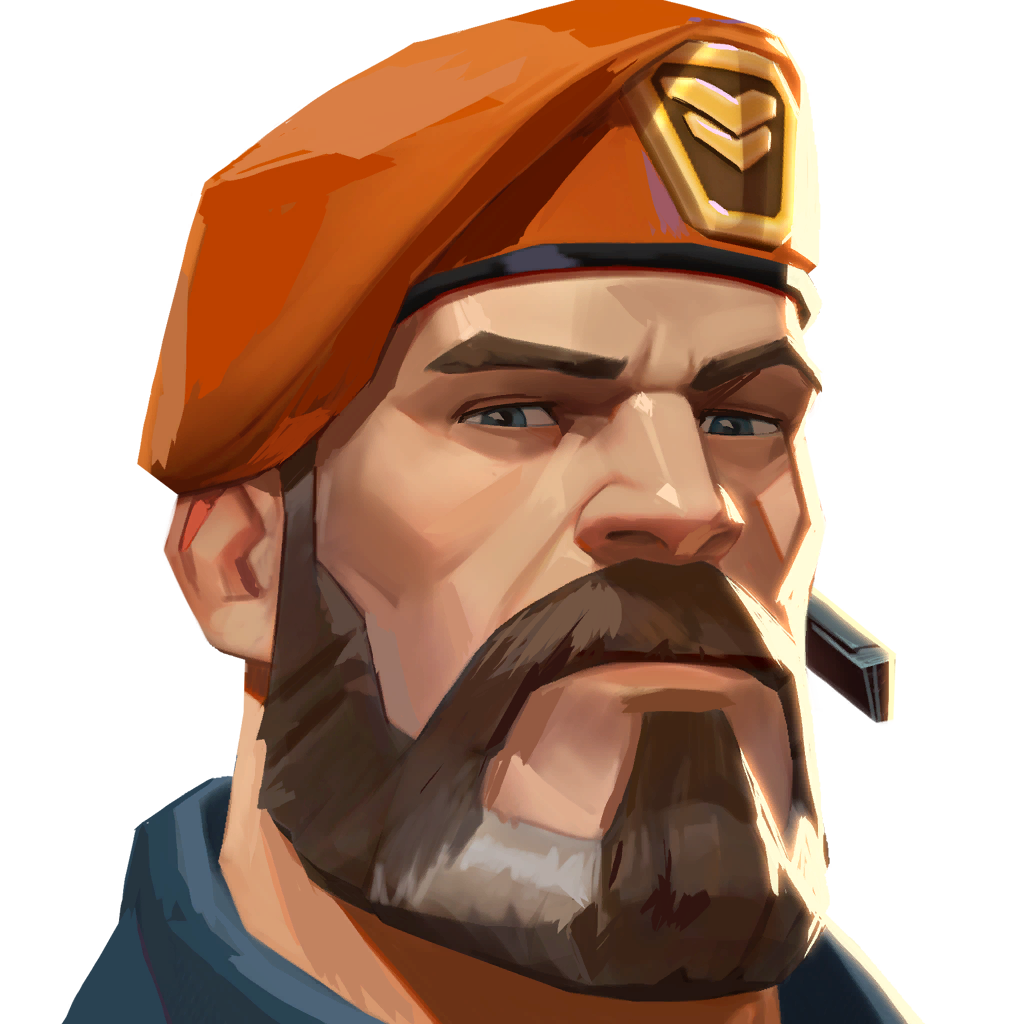 BrimstoneController
 Stim Beacon
 Incendiary
 Sky Smoke
 Orbital Strike
Sky Smoke can block vision across a chokepoint. Choose the teammate move it supports, then identify a sightline the smoke leaves open.
In a custom game before queueing, choose one site approach and place Sky Smoke over one chokepoint. Walk the route a teammate would cross, point out an uncovered angle, and rehearse a short call for the cross.
Source limit: Riot describes Brimstone’s utility, not an exact smoke placement, safe crossing, or guaranteed result on a particular map.
Ask the field manual about Brimstone →Build a practice plan with Brimstone →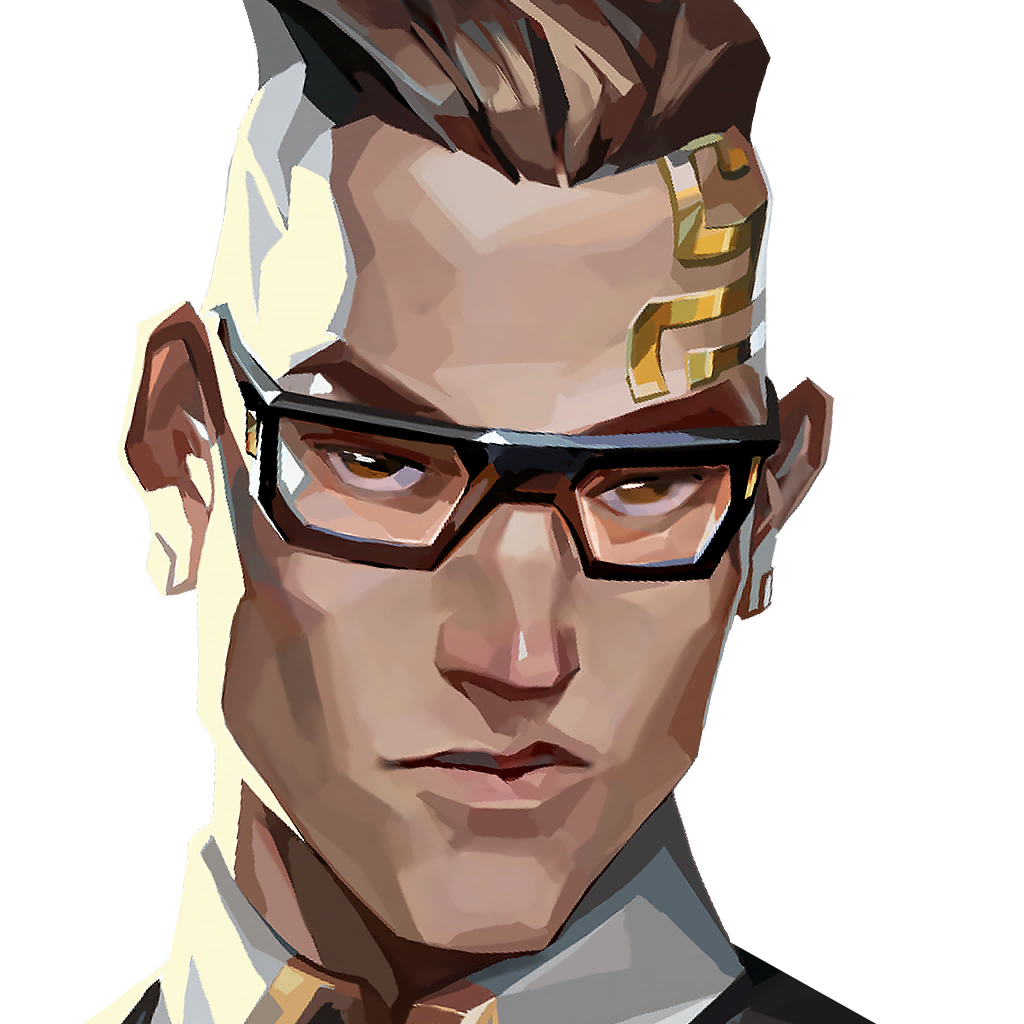 ChamberSentinel
 Rendezvous
 Trademark
 Headhunter
 Tour De Force
Build a plan for the area you are watching and how you will react when your setup is challenged.
Place one piece of utility with a specific information or delay goal, then review whether it achieved it. Try this with Rendezvous in mind.
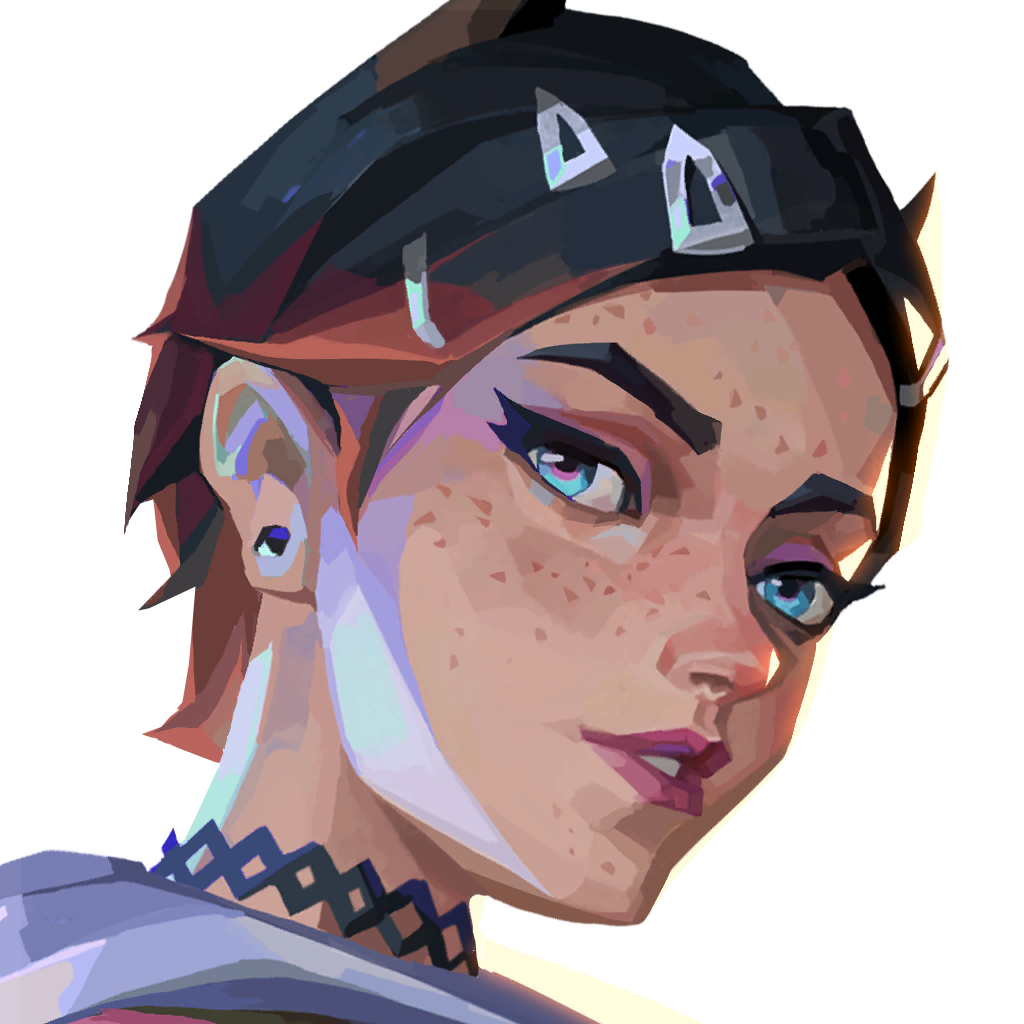 CloveController
 Pick-me-up
 Ruse
Ruse Not Dead Yet
 Meddle
Use your utility to cut sightlines for a specific team move, then check whether teammates can use that space.
Before a round, name the sightline you want to deny and the teammate who will use the opening. Try this with Pick-me-up in mind.
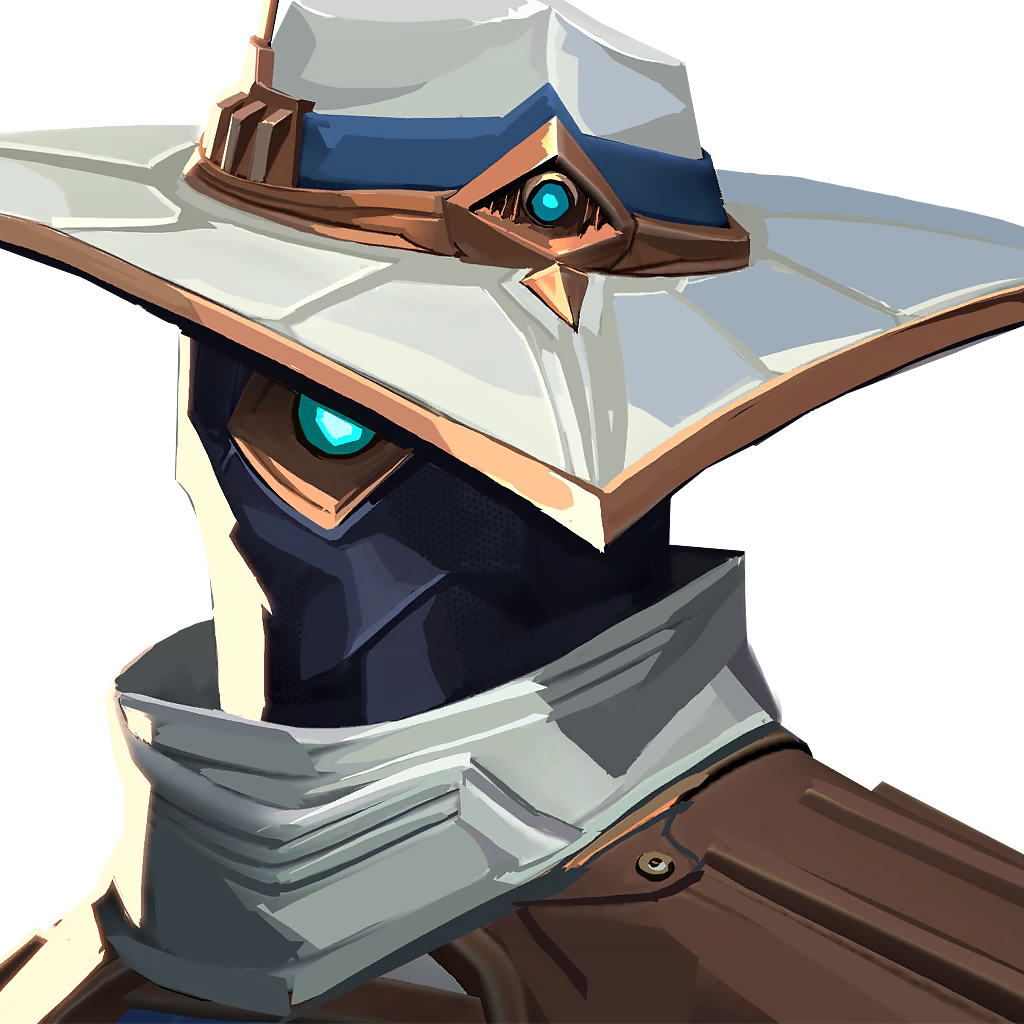 CypherSentinel
 Cyber Cage
 Spycam
 Trapwire
 Neural Theft
Trapwire spans a route between surfaces and can be destroyed. Use it to watch one crossing while you cover the space it leaves open.
In a custom game before queueing, place one Trapwire across a flank route. Walk both sides to find a path around it, choose a position to watch the uncovered angle, and rehearse a contact call to your team.
Source limit: Riot’s agent page describes placement, but later patch notes changed Trapwire’s status effect. This drill makes no debuff or timing claim and cannot guarantee flank detection.
Ask the field manual about Cypher →Build a practice plan with Cypher →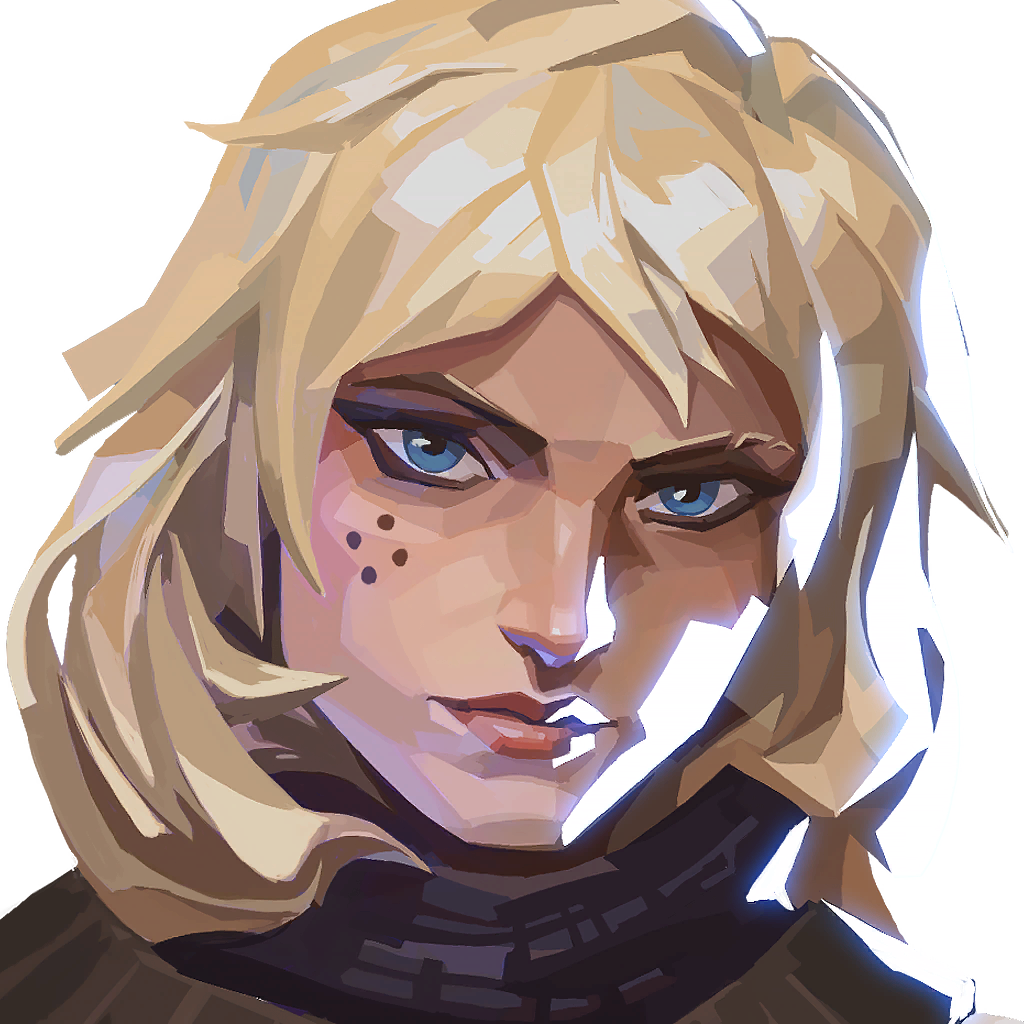 DeadlockSentinel
 Sonic Sensor
 Barrier Mesh
 GravNet
 Annihilation
Build a plan for the area you are watching and how you will react when your setup is challenged.
Place one piece of utility with a specific information or delay goal, then review whether it achieved it. Try this with Sonic Sensor in mind.
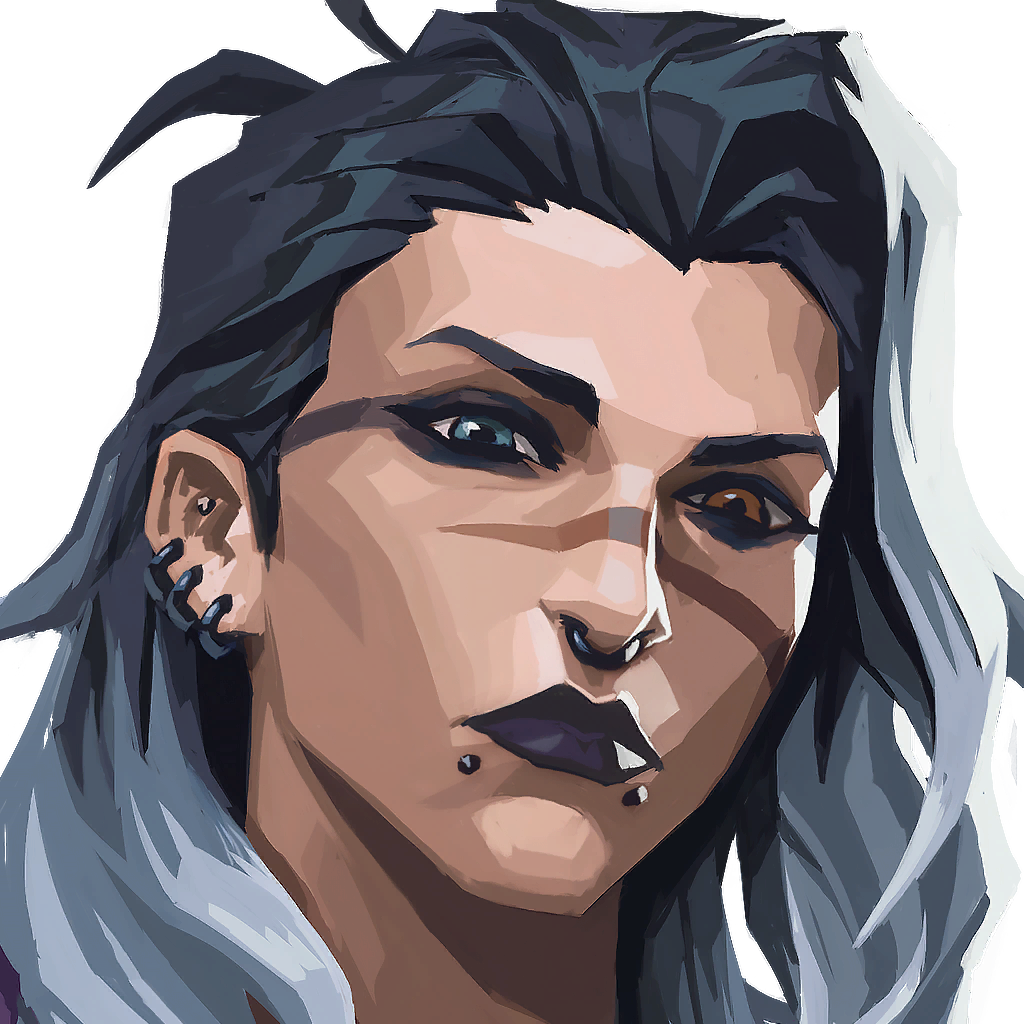 FadeInitiator
 Seize
Seize Haunt
Haunt Prowler
 Nightfall
Haunt reveals enemies in its line of sight and can be destroyed. Plan who acts on the reveal, while remembering that hidden corners remain unchecked.
In a custom game before queueing, throw Haunt toward one entry area. From the teammate’s approach, identify two corners it cannot see and rehearse a call for the first angle to check after the reveal.
Source limit: Riot describes Haunt’s line-of-sight reveal and destructibility, not a guaranteed landing spot, complete clear, or safe follow-up.
Ask the field manual about Fade →Build a practice plan with Fade →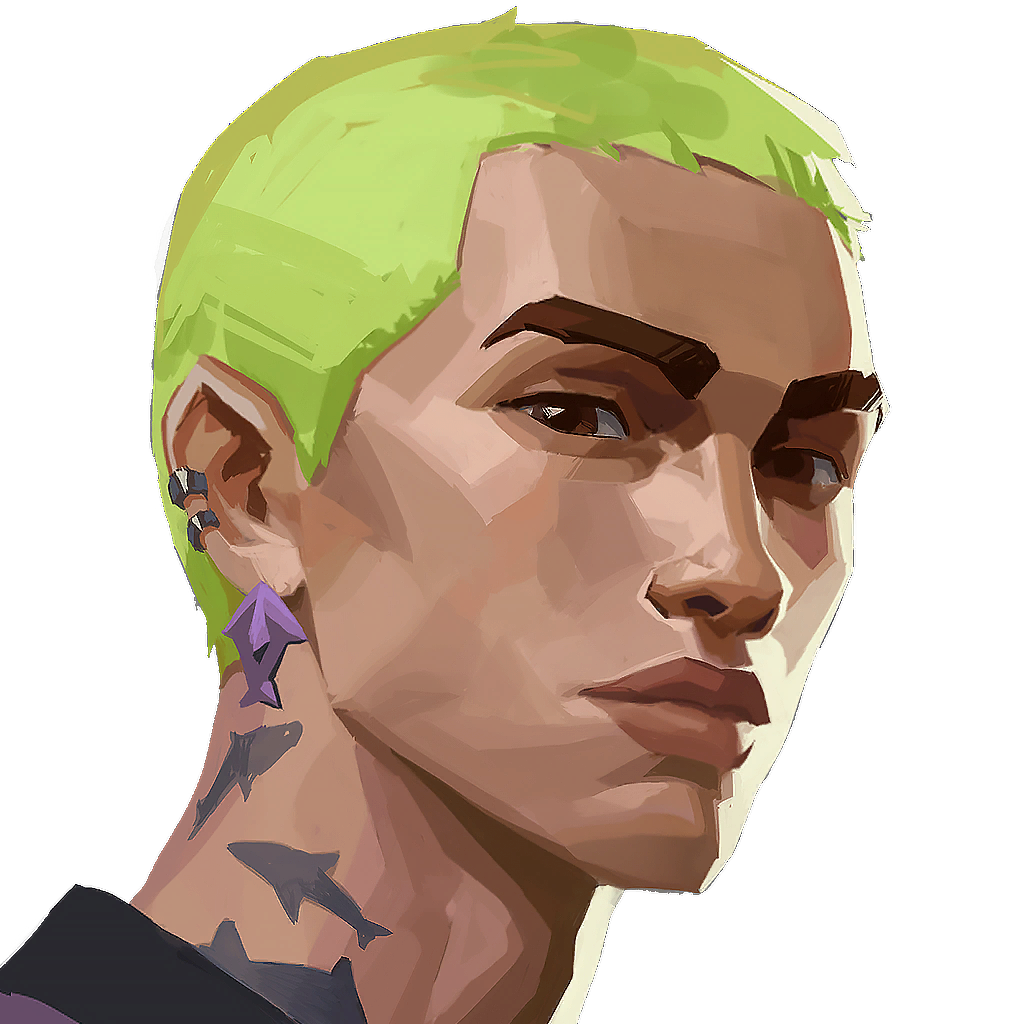 GekkoInitiator
 Wingman
 Dizzy
Dizzy Mosh Pit
 Thrash
Use information or disruption to make the next teammate action safer, rather than spending utility without a follow-up.
Call the area you plan to clear and coordinate a teammate to act on the result. Try this with Wingman in mind.
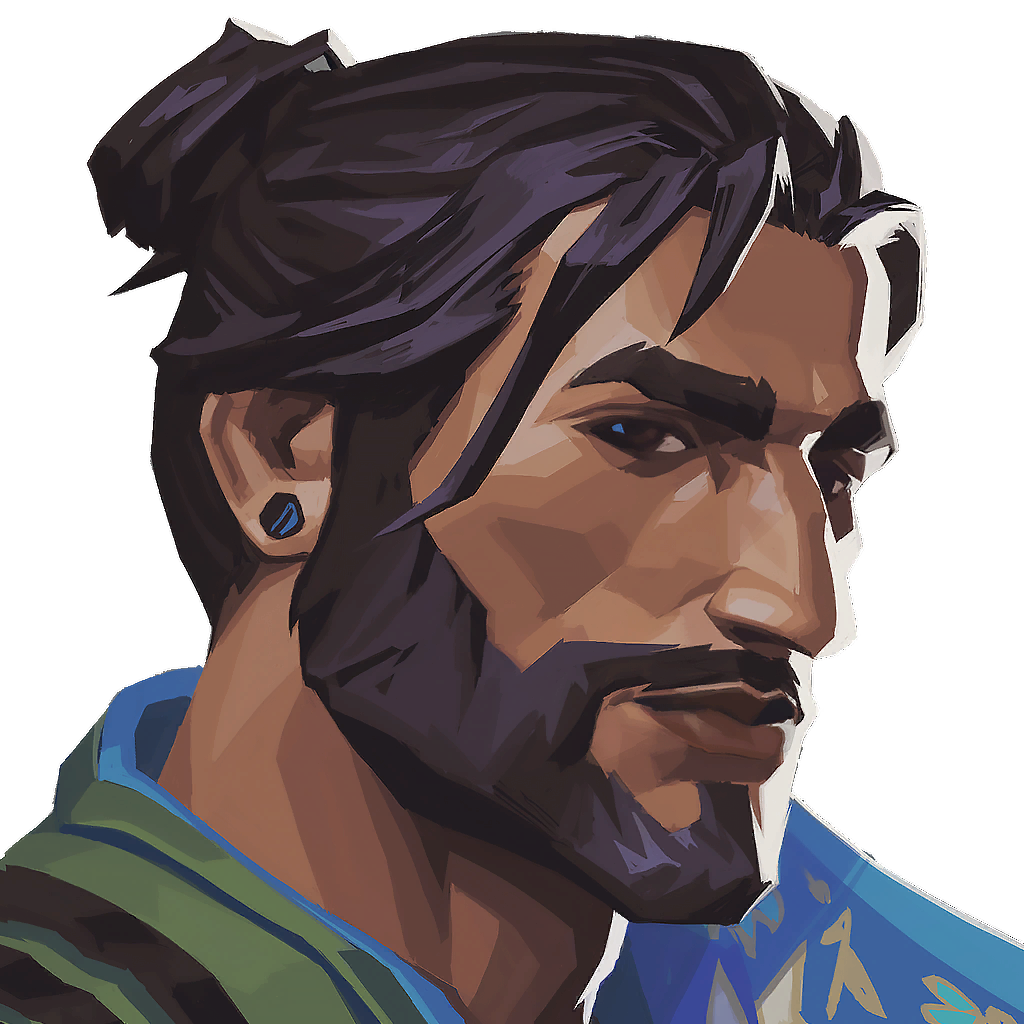 HarborController
 High Tide
 Storm Surge
 Cove
Cove Reckoning
Use your utility to cut sightlines for a specific team move, then check whether teammates can use that space.
Before a round, name the sightline you want to deny and the teammate who will use the opening. Try this with High Tide in mind.
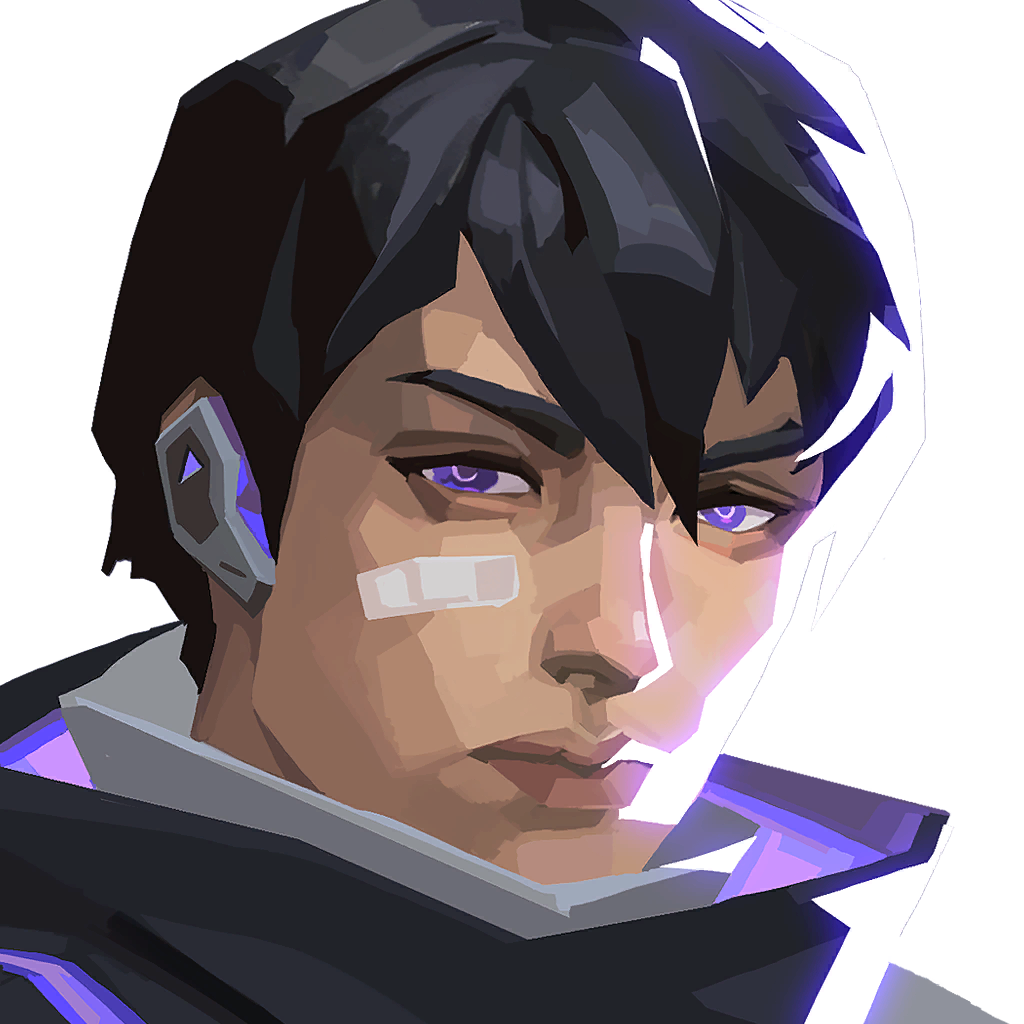 IsoDuelist
 Undercut
 Kill Contract
 Double Tap
 Contingency
Take space with a teammate ready to trade and a clear next position in mind.
Before taking first contact, identify the cover you want to reach and who can follow you. Try this with Undercut in mind.
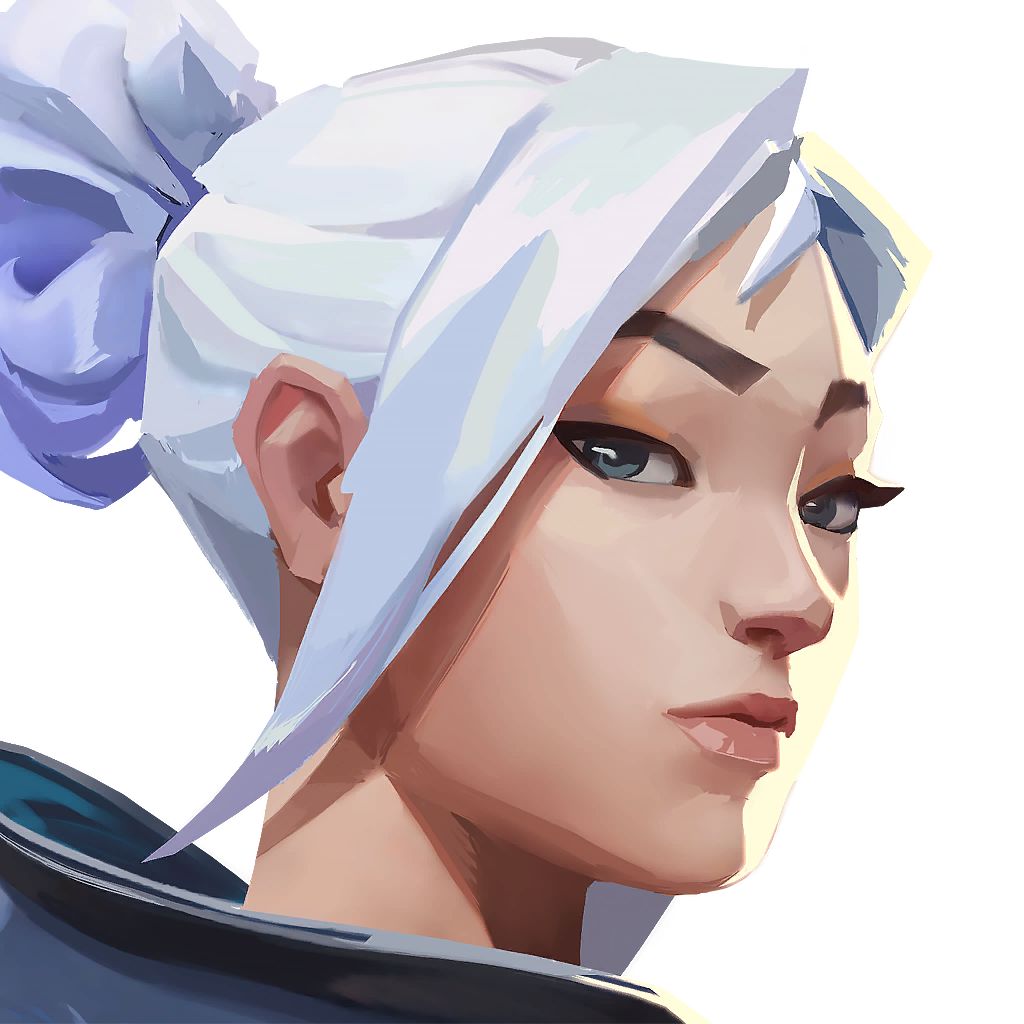 JettDuelist
 Updraft
 Tailwind
 Cloudburst
 Blade Storm
 Drift
DriftTailwind must be prepared for a limited window, then moves Jett in her movement direction. Pick an exit before taking first contact.
In a custom game, mark one entry angle and the cover you want to reach with Tailwind. Rehearse your movement toward that cover, then call the route a teammate can follow.
Source limit: Riot describes Tailwind preparation and direction, not that a dash or entry is safe.
Ask the field manual about Jett →Build a practice plan with Jett → KAY/OInitiator
 FRAG/ment
 FLASH/drive
 ZERO/point
 NULL/cmd
Use information or disruption to make the next teammate action safer, rather than spending utility without a follow-up.
Call the area you plan to clear and coordinate a teammate to act on the result. Try this with FRAG/ment in mind.
 KilljoySentinel
 Nanoswarm
 ALARMBOT
 TURRET
 Lockdown
Alarmbot hunts enemies that enter its range and applies Vulnerable if it reaches them. Use it to watch one route while you plan your response to contact.
In a custom game before queueing, place Alarmbot near one entrance or flank route. Walk to the position you would hold, point out a route the bot does not cover, and rehearse the call you would make if it triggers.
Source limit: Riot describes Alarmbot’s pursuit and effect, not a guaranteed warning, exact coverage, or an unbeatable setup.
Ask the field manual about Killjoy →Build a practice plan with Killjoy → MiksController
 M-pulse
 Waveform
 Harmonize
 Bassquake
Use your utility to cut sightlines for a specific team move, then check whether teammates can use that space.
Before a round, name the sightline you want to deny and the teammate who will use the opening. Try this with M-pulse in mind.
 NeonDuelist
 High Gear
 Relay Bolt
 Fast Lane
 Overdrive
Take space with a teammate ready to trade and a clear next position in mind.
Before taking first contact, identify the cover you want to reach and who can follow you. Try this with High Gear in mind.
 OmenController
 Paranoia
 Dark Cover
 Shrouded Step
 From the Shadows
Dark Cover blocks vision, while Paranoia passes through walls and briefly limits vision. Pair either ability with a teammate move.
Before a site approach, choose one sightline to block with Dark Cover and name the teammate who will cross it. Call a Paranoia follow-up before casting.
Source limit: Riot describes these abilities, not a site-specific smoke placement or guaranteed follow-up.
Ask the field manual about Omen →Build a practice plan with Omen →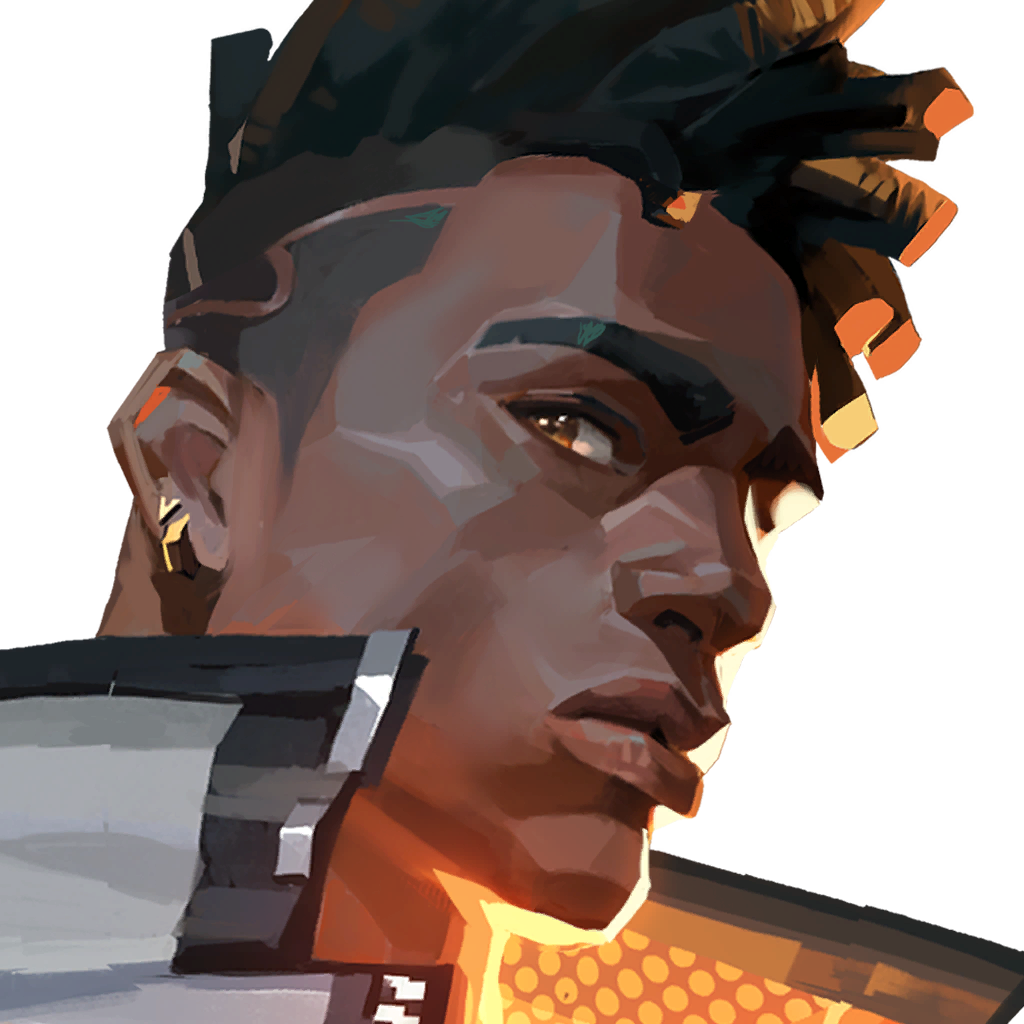 PhoenixDuelist
 Blaze
Blaze Hot Hands
 Curveball
 Run it Back
Curveball bends left or right and blinds players who see its flare. Tell a teammate which side you are flashing before leading the entry.
In a custom game before queueing, try one left and one right Curveball around the same entrance from cover. Mark where each flare appears, rehearse a teammate warning, and choose the next cover you would reach.
Source limit: Riot describes the curved blind, not a safe flash path, teammate timing, or guaranteed entry; allies who see the flare can be blinded.
Ask the field manual about Phoenix →Build a practice plan with Phoenix →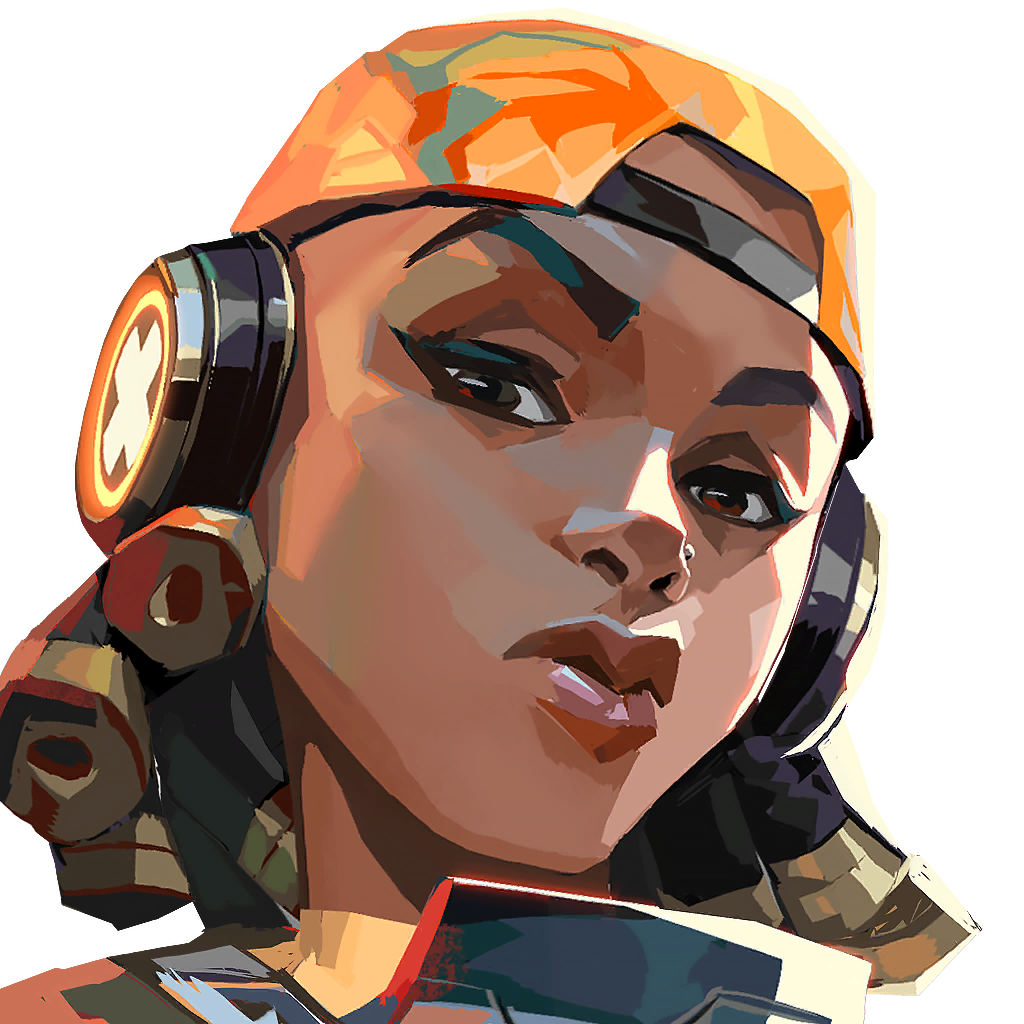 RazeDuelist
 Blast Pack
 Paint Shells
 Boom Bot
 Showstopper
Boom Bot travels forward, bounces off walls, and chases enemies in its frontal cone. Use its route to plan your next move, not to assume every corner is clear.
In a custom game before queueing, send Boom Bot through one tight entrance from cover. Watch its first bounce, mark one corner outside its path, then rehearse a call and the cover you would reach as a teammate follows.
Source limit: Riot describes the bot’s travel and target behavior, not a guaranteed detection, cleared corner, safe entry, or kill.
Ask the field manual about Raze →Build a practice plan with Raze →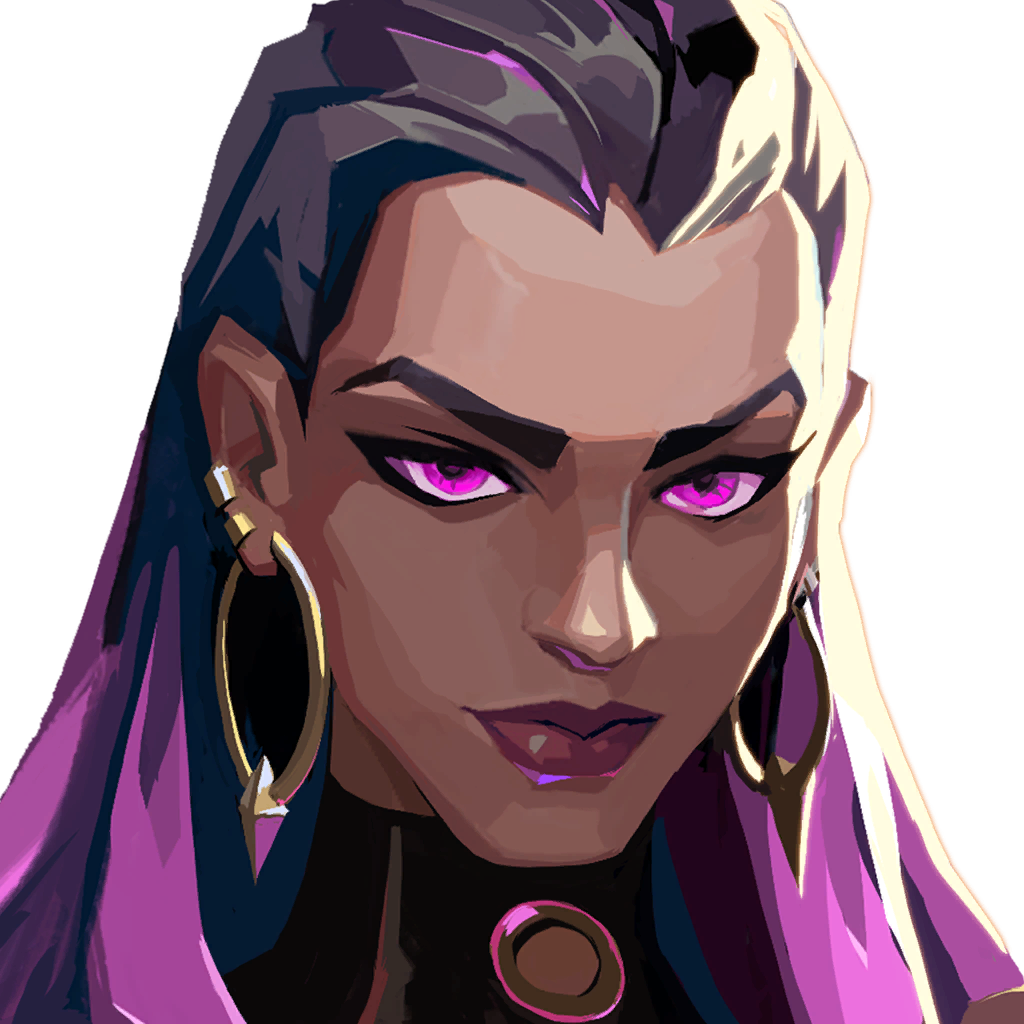 ReynaDuelist
 Devour
 Dismiss
 Leer
Leer Empress
Take space with a teammate ready to trade and a clear next position in mind.
Before taking first contact, identify the cover you want to reach and who can follow you. Try this with Devour in mind.
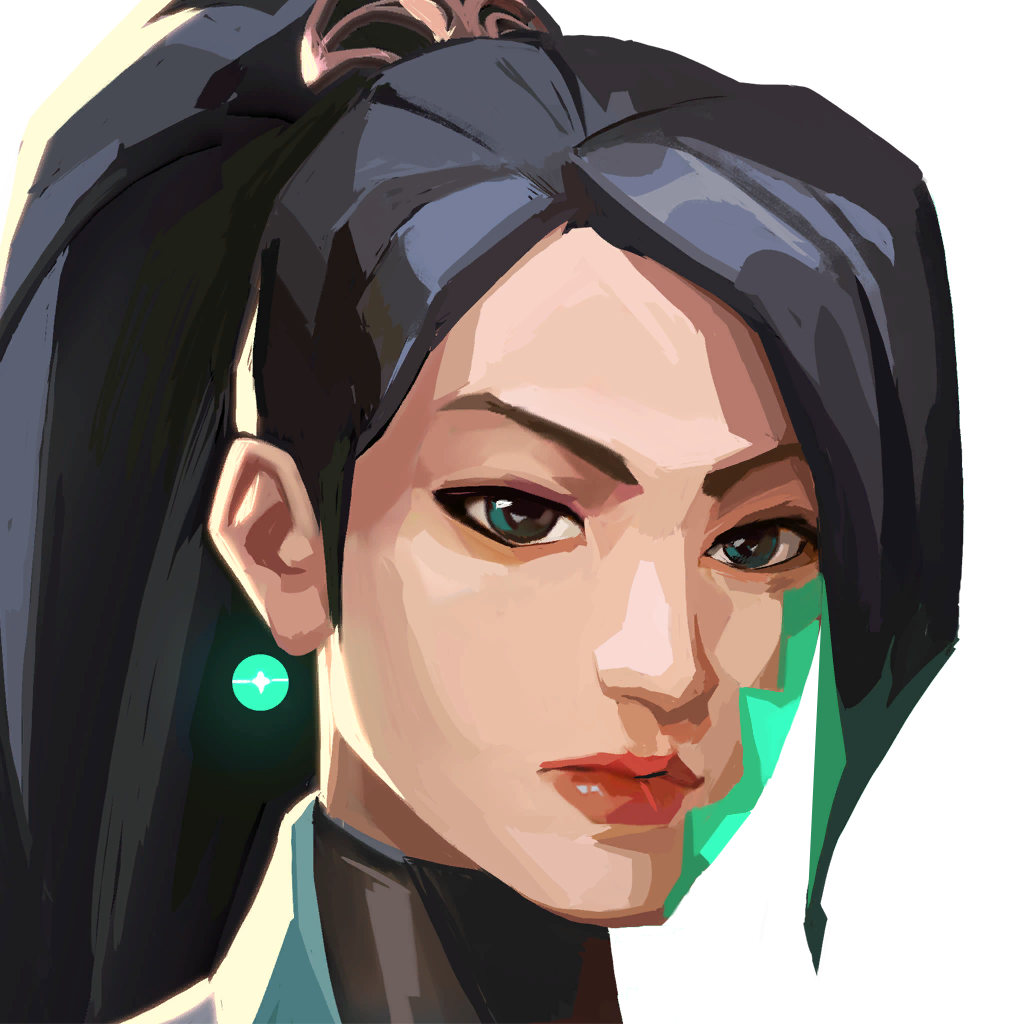 SageSentinel
 Slow Orb
 Healing Orb
 Barrier Orb
 Resurrection
Slow Orb creates a lingering field that slows players inside it. Choose the push you want to delay and the space your team will watch while it is active.
Before defending a site, name one entrance to slow and the position you will hold behind it. Tell a teammate when you cast so they know which route you are delaying.
Source limit: Riot confirms the slow field, not a guaranteed stall or the best placement for a site.
Ask the field manual about Sage →Build a practice plan with Sage →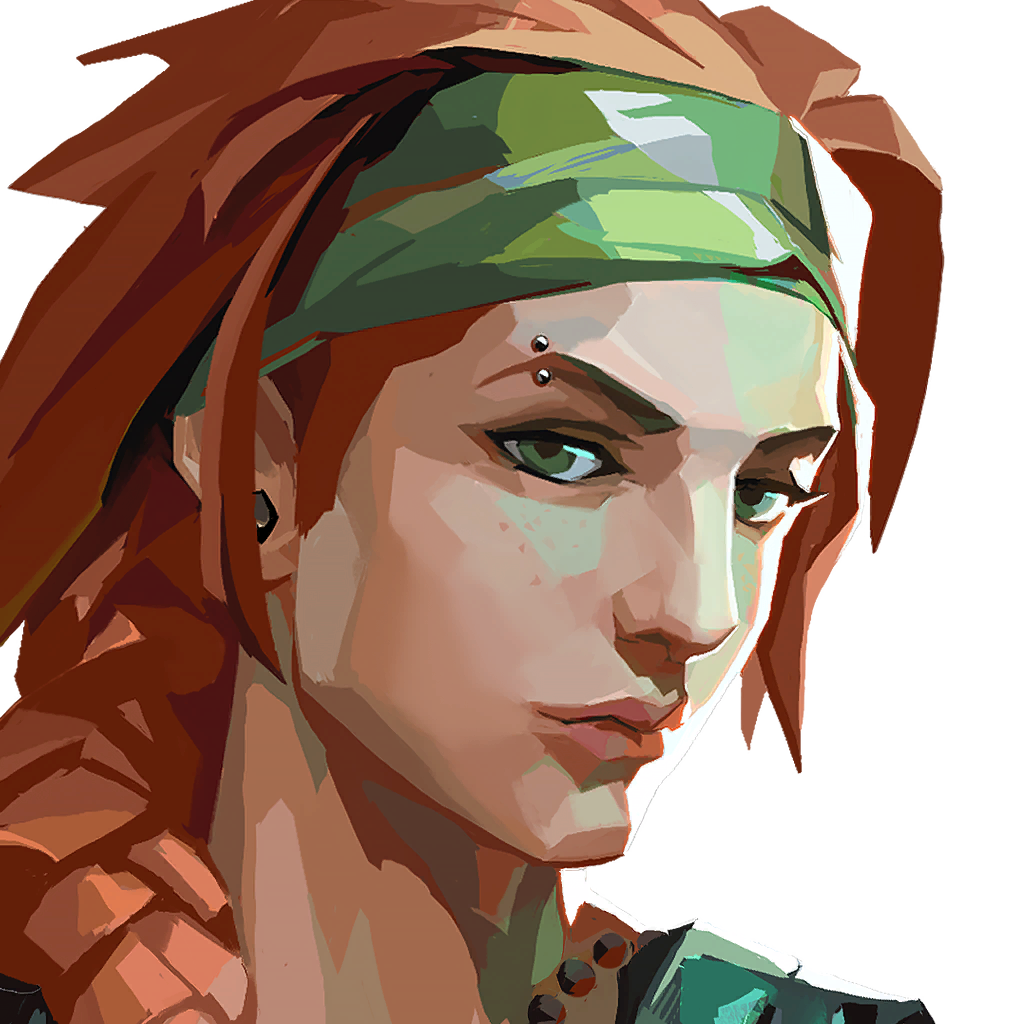 SkyeInitiator
 Trailblazer
 Guiding Light
 Regrowth
 Seekers
Use information or disruption to make the next teammate action safer, rather than spending utility without a follow-up.
Call the area you plan to clear and coordinate a teammate to act on the result. Try this with Trailblazer in mind.
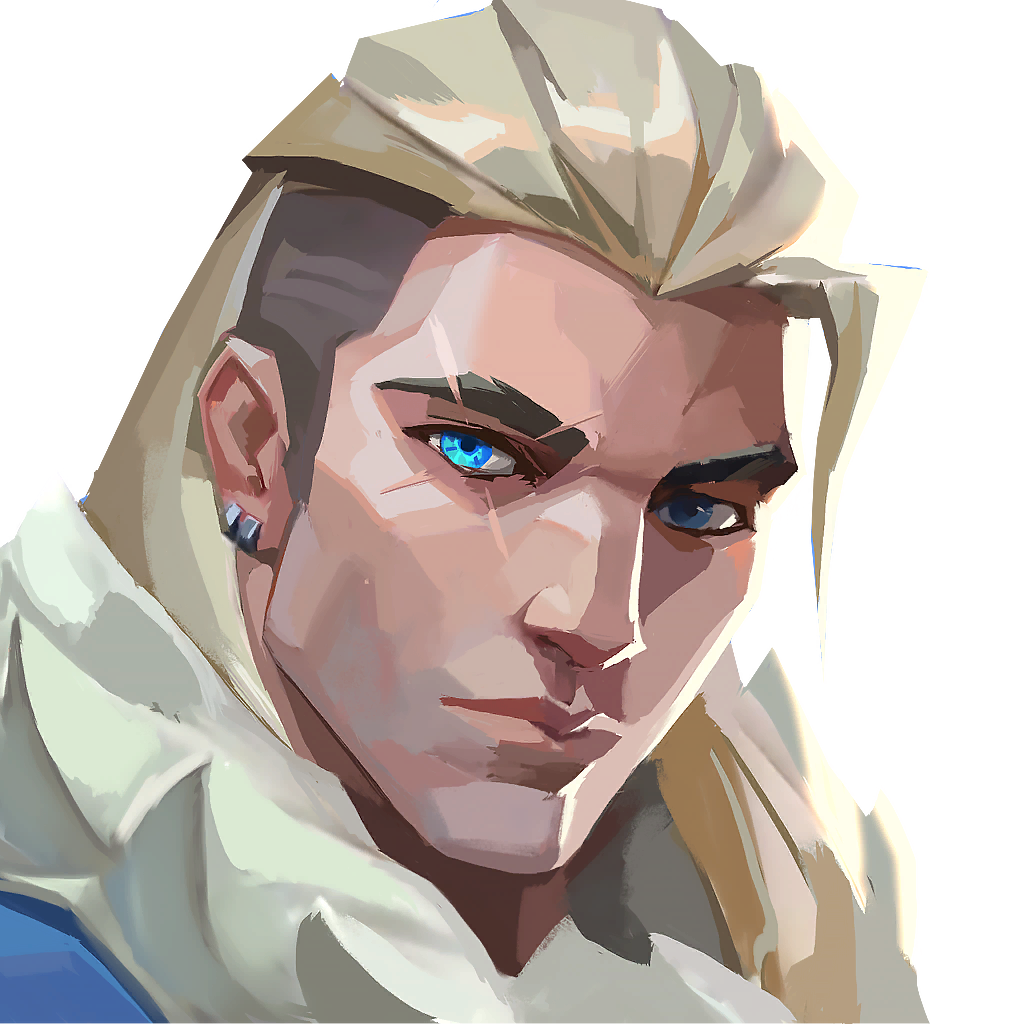 SovaInitiator
 Shock Bolt
 Recon Bolt
 Owl Drone
 Hunter's Fury
Recon Bolt reveals enemies in its line of sight, and opponents can destroy it. Plan who follows the scan instead of assuming it clears every corner.
In a custom game, choose one Recon Bolt landing spot and check two corners it cannot see. Before an entry, name the teammate who will act on the scan.
Source limit: Riot describes the reveal mechanic, not a guaranteed lineup or successful entry.
Ask the field manual about Sova →Build a practice plan with Sova →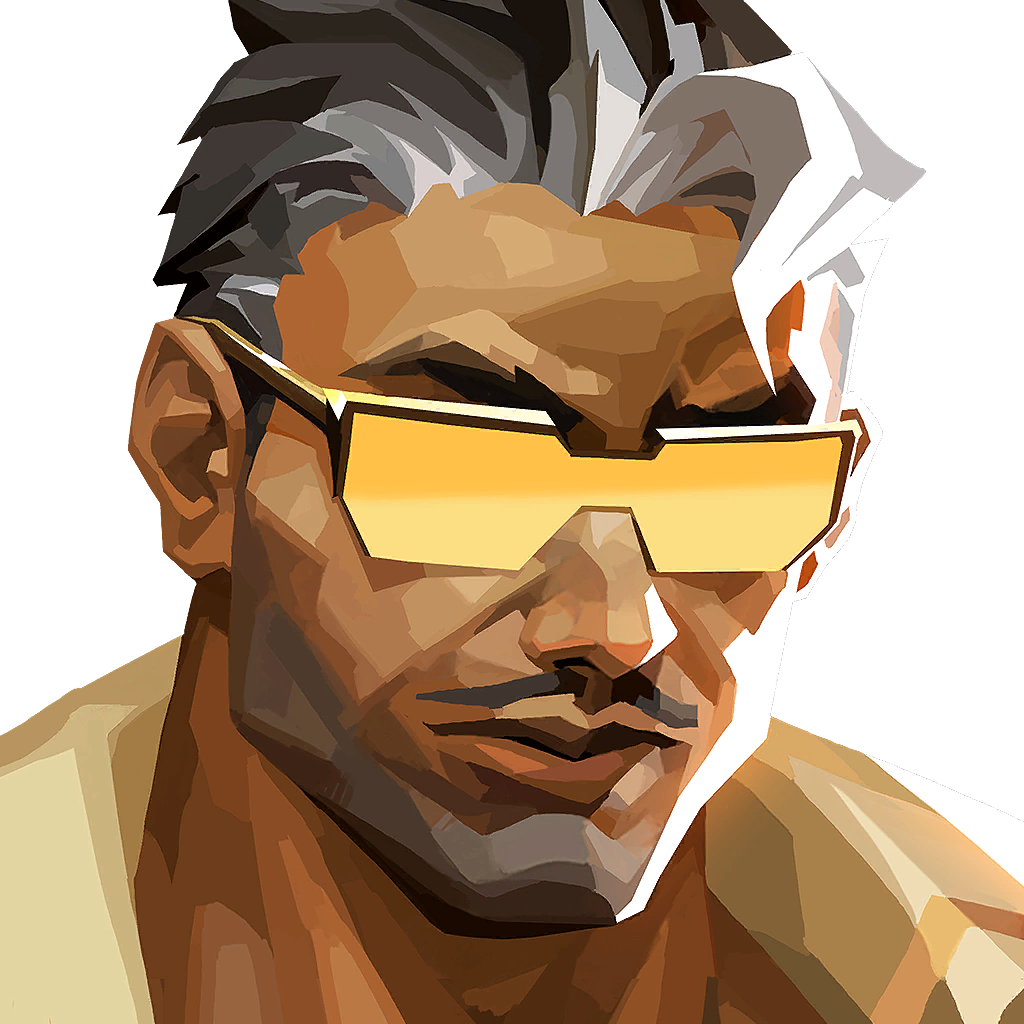 TejoInitiator
 Guided Salvo
 Special Delivery
 Armageddon
 Stealth Drone
Use information or disruption to make the next teammate action safer, rather than spending utility without a follow-up.
Call the area you plan to clear and coordinate a teammate to act on the result. Try this with Guided Salvo in mind.
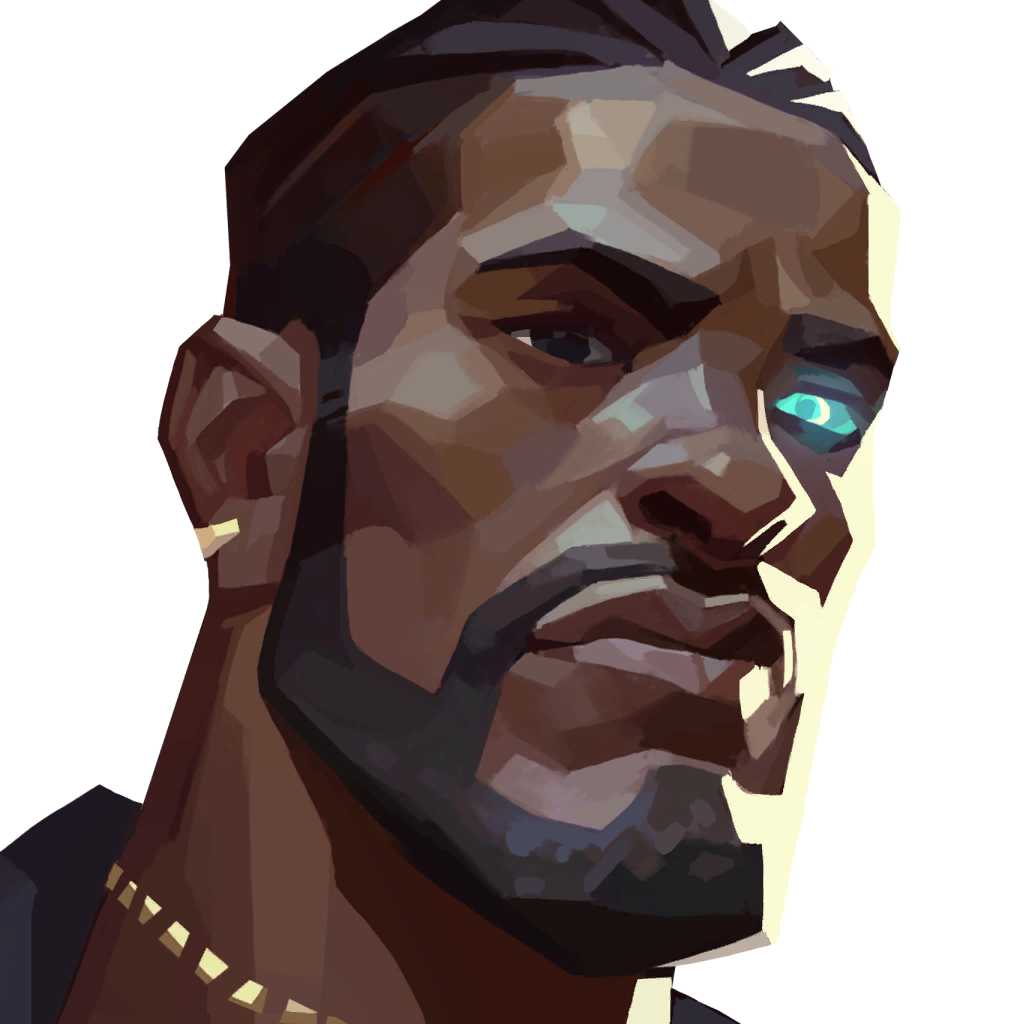 VetoSentinel
 Interceptor
 Crosscut
 Evolution
 Chokehold
Build a plan for the area you are watching and how you will react when your setup is challenged.
Place one piece of utility with a specific information or delay goal, then review whether it achieved it. Try this with Interceptor in mind.
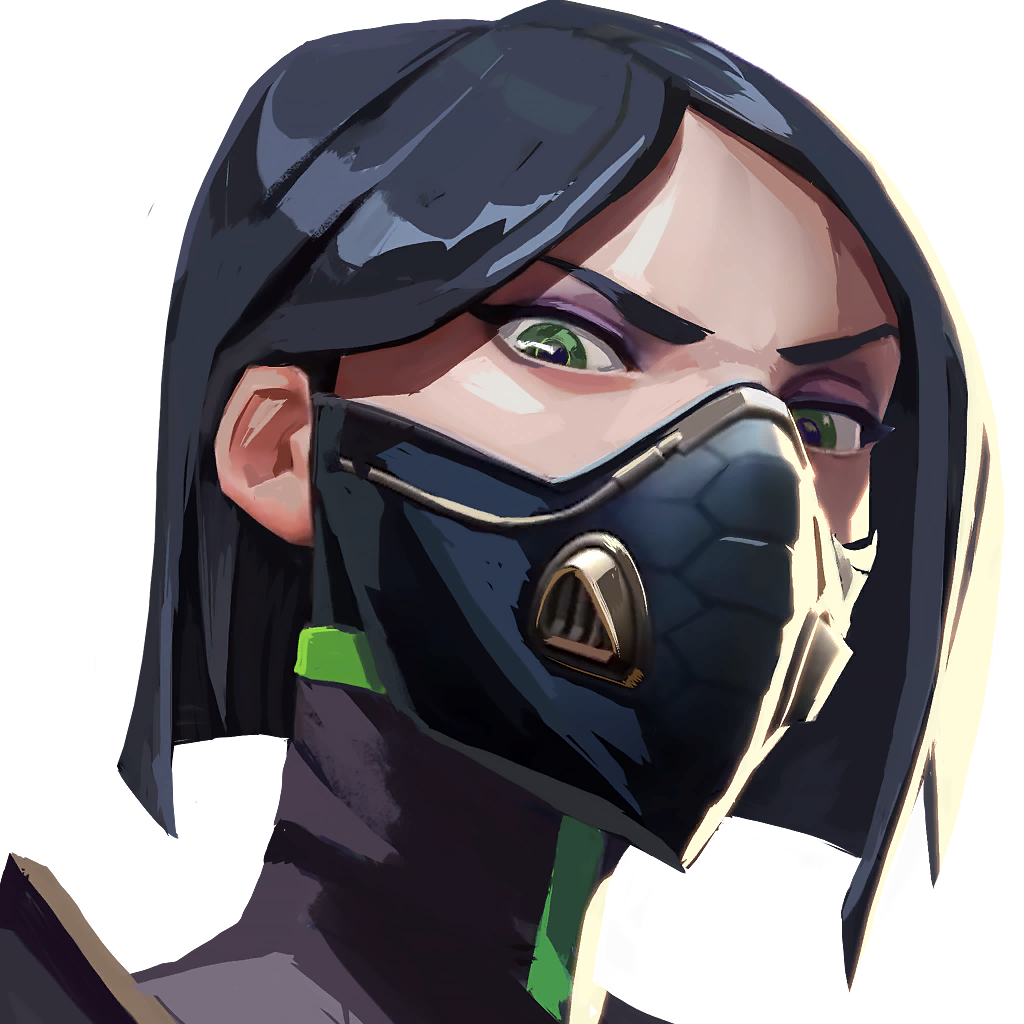 ViperController
 Poison Cloud
 Toxic Screen
 Snake Bite
 Viper's Pit
Poison Cloud blocks vision while consuming fuel and can be used again after it falls. Time the cloud for a specific teammate move rather than leaving it active without a plan.
In a custom game before queueing, place Poison Cloud to cut one sightline on a familiar approach. Rehearse turning it on for a teammate crossing, turning it off, and naming an angle the cloud does not cover.
Source limit: Riot describes the gas cloud and fuel, not an optimal placement, exact fuel budget, or safe crossing.
Ask the field manual about Viper →Build a practice plan with Viper →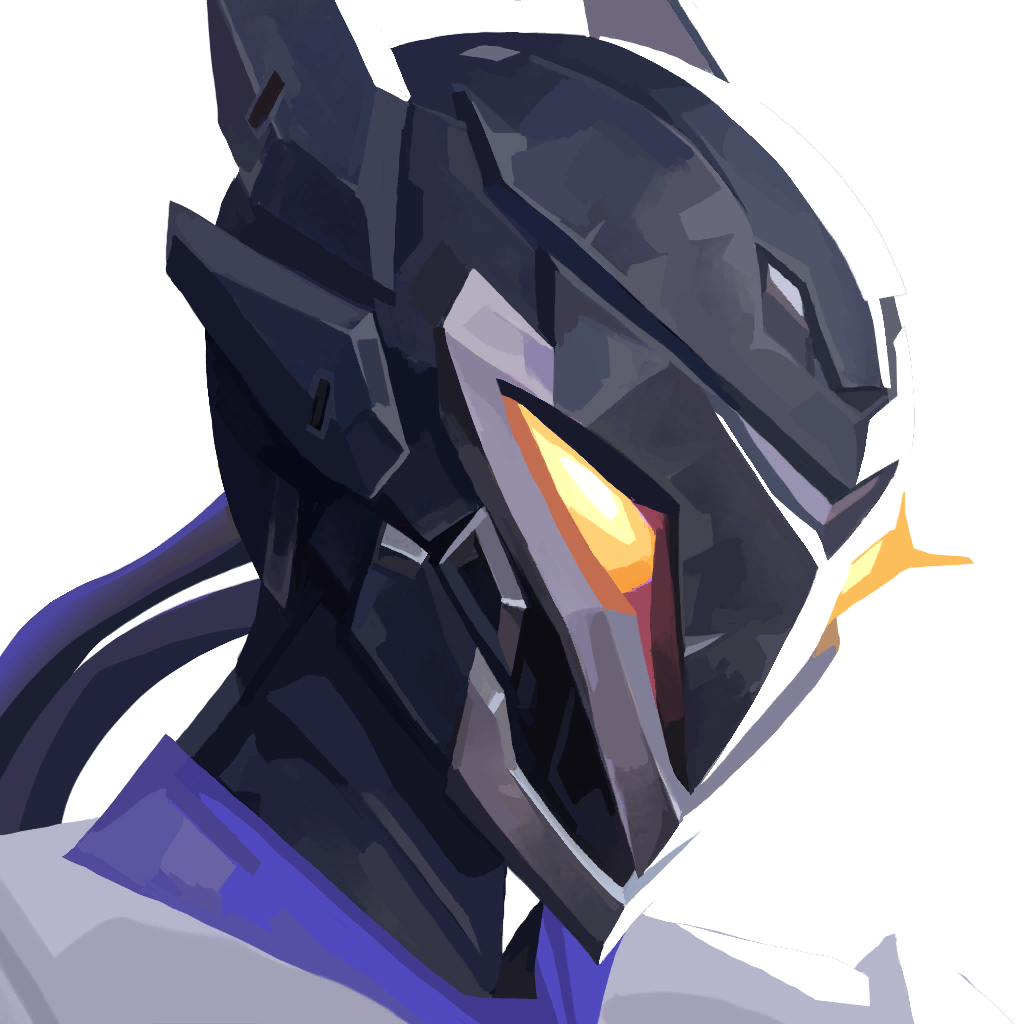 VyseSentinel
 Shear
Shear Arc Rose
 Razorvine
 Steel Garden
Build a plan for the area you are watching and how you will react when your setup is challenged.
Place one piece of utility with a specific information or delay goal, then review whether it achieved it. Try this with Shear in mind.
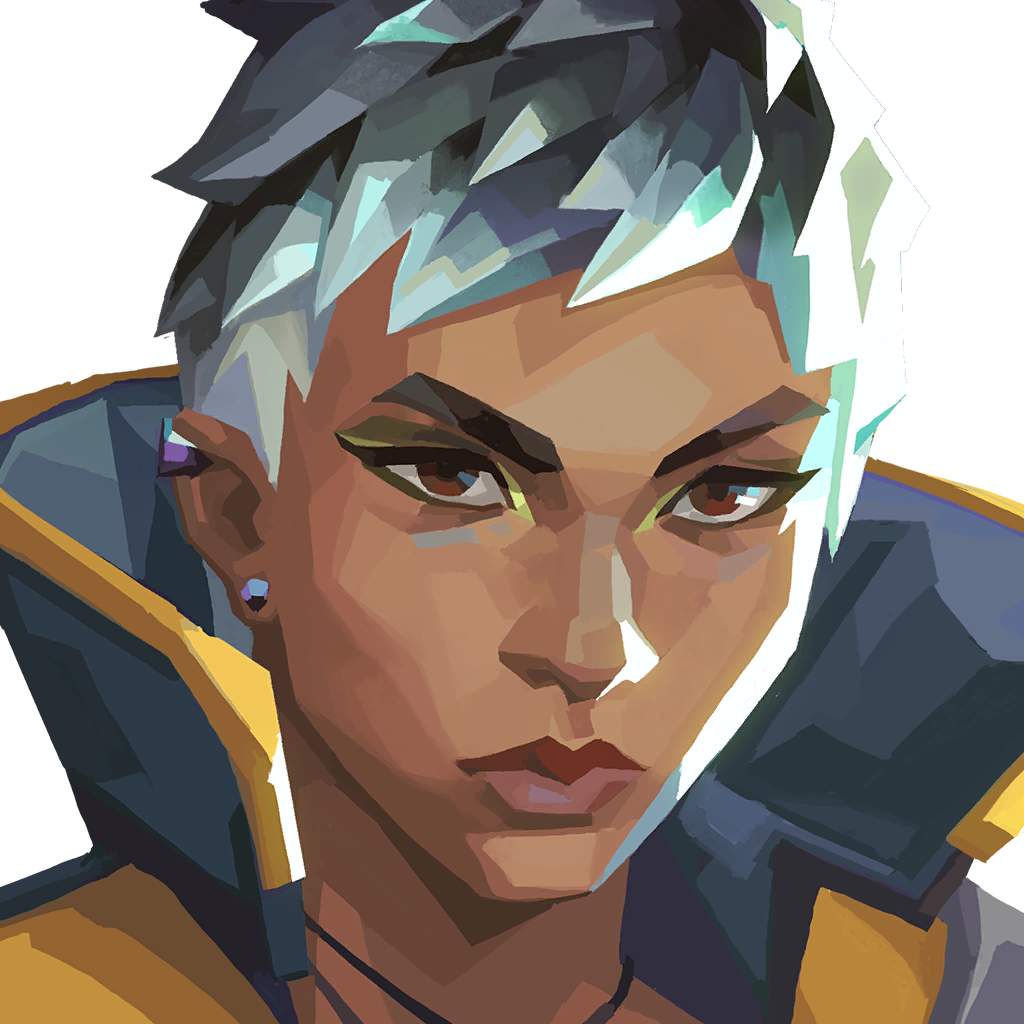 WaylayDuelist
 Refract
 Saturate
 Lightspeed
 Convergent Paths
Take space with a teammate ready to trade and a clear next position in mind.
Before taking first contact, identify the cover you want to reach and who can follow you. Try this with Refract in mind.
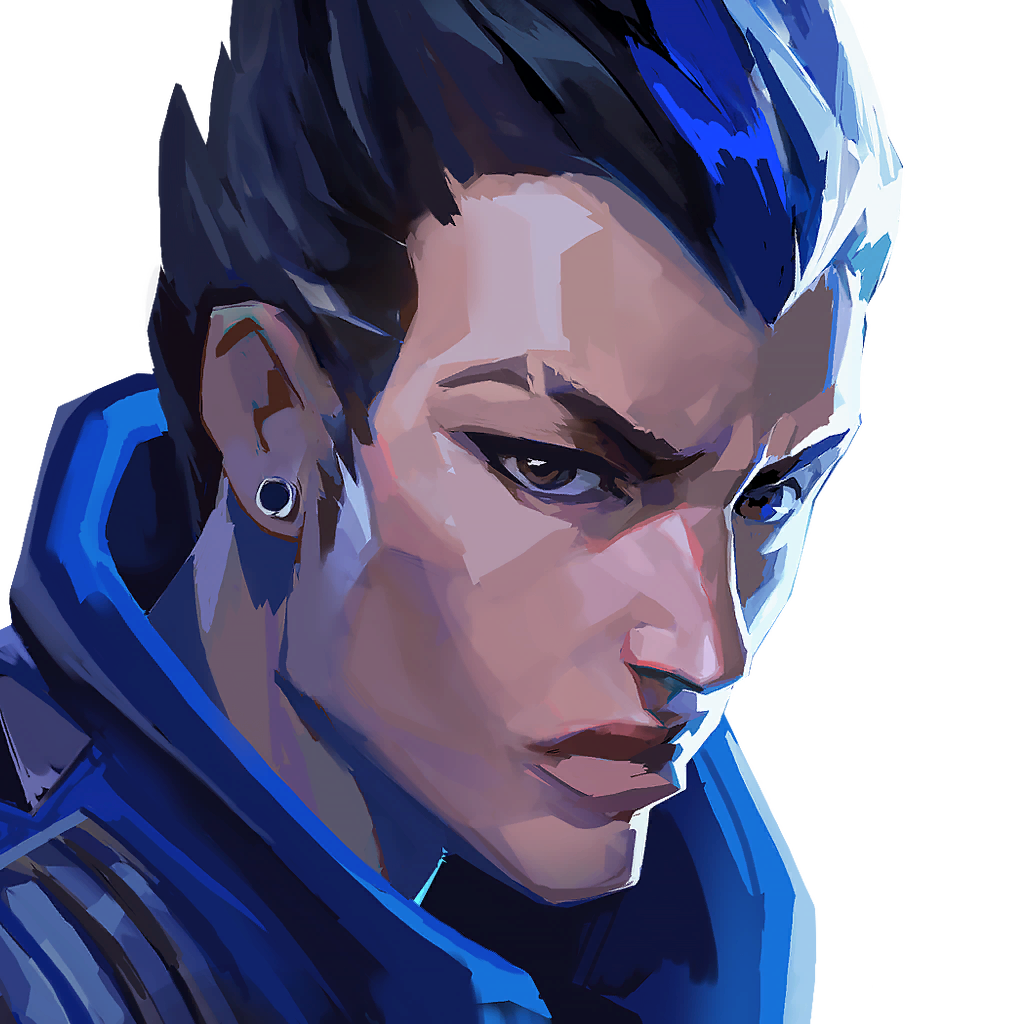 YoruDuelist
 FAKEOUT
 BLINDSIDE
 GATECRASH
 DIMENSIONAL DRIFT
Take space with a teammate ready to trade and a clear next position in mind.
Before taking first contact, identify the cover you want to reach and who can follow you. Try this with FAKEOUT in mind.
Role fundamentals 4
Controller fundamentals
Shape the fight by blocking a sightline for a specific teammate move. Decide what your team can cross while vision is denied.
Before queueing, choose one familiar site approach. In a custom game, pick a sightline your Controller can block, rehearse the ability, and call the teammate crossing it. Name the angle that remains open.
Source limit: Riot describes vision control as a role tool, not a site-specific smoke, safe crossing, or timing that fits every Controller.
Ask the field manual about Controller fundamentals →Build a practice plan with Controller fundamentals →Initiator fundamentals
Use information or disruption to challenge an angle, then tell a teammate which opening to use.
Before queueing, choose one entry angle. In a custom game, rehearse one scouting or disabling ability your Initiator has, call the area it checks, and name the teammate move that follows. Point out one corner it does not clear.
Source limit: Riot describes tracking and disabling enemies at the role level; it does not say one ability clears every corner or guarantees a safe entry.
Ask the field manual about Initiator fundamentals →Build a practice plan with Initiator fundamentals →Sentinel fundamentals
Defend a specific piece of territory with a supportive or defensive ability, and plan your response if that space is challenged.
Before queueing, choose one entrance or flank on a familiar map. In a custom game, rehearse where you would place one defensive ability, where you would stand to respond, and the call you would make if enemies contest that space.
Source limit: Riot describes defending territory as a role goal, not an optimal setup, reliable warning, or guaranteed hold.
Ask the field manual about Sentinel fundamentals →Build a practice plan with Sentinel fundamentals →Duelist fundamentals
Lead a planned engagement to open space for your team. Know the next cover and who can follow your move.
Before queueing, choose one site entrance on a familiar map. In a custom game, rehearse using one disruptive ability your Duelist has, moving to the next cover, and calling a teammate to follow. Name where you stop if the route is blocked.
Source limit: Riot describes Duelists leading engagements, not a required entry route, safe follow-up, or guaranteed first kill.
Ask the field manual about Duelist fundamentals →Build a practice plan with Duelist fundamentals →Map diagrams 18
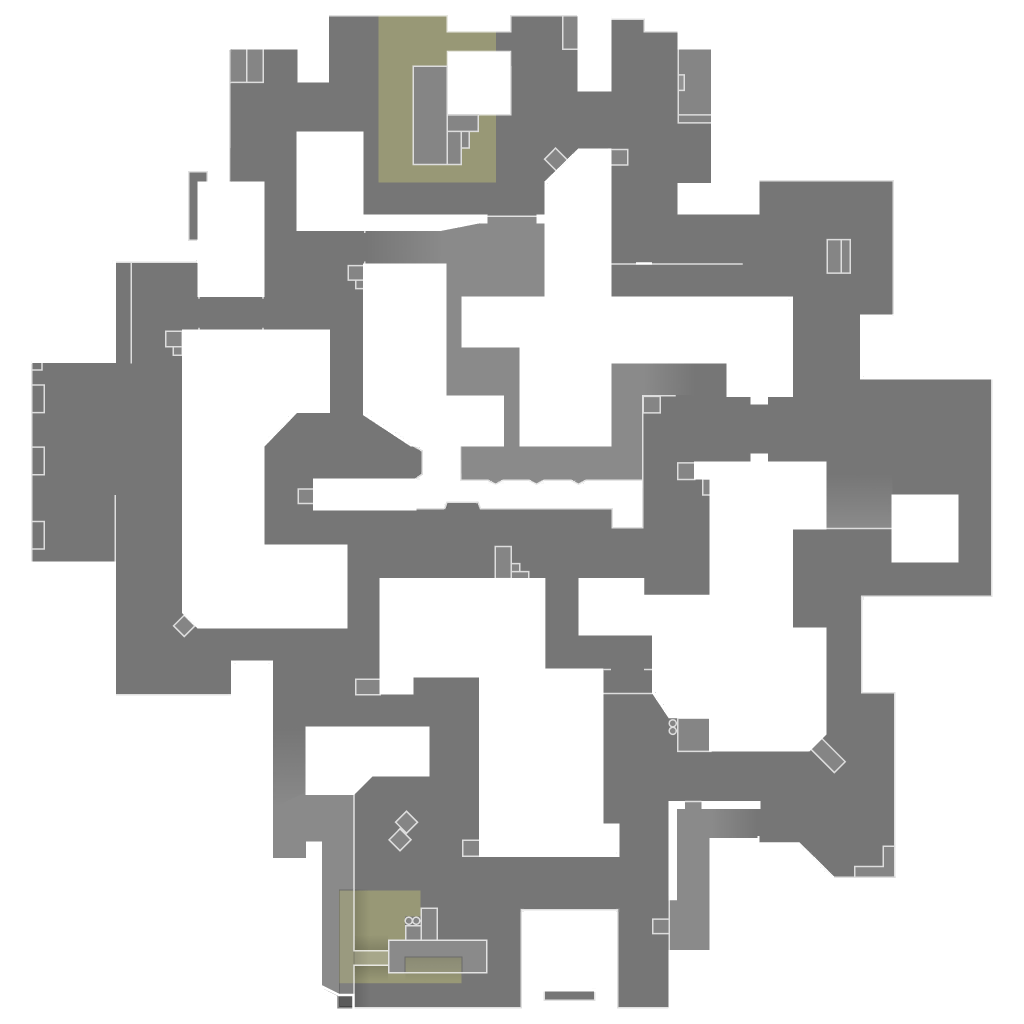 Abyss
Abyss
Abyss has exposed death drops. Check the edge and the angle beyond it before committing to a route.
Before a match, walk one route beside a death drop in a custom game. Mark a stopping point short of the edge, identify the angle beyond the crossing, and rehearse returning to inland cover if that angle is held.
Source limit: Riot describes death drops and possible utility plays, not a safe edge route, exact angle, or guaranteed escape.
Ask the field manual about Abyss →Build a practice plan with Abyss →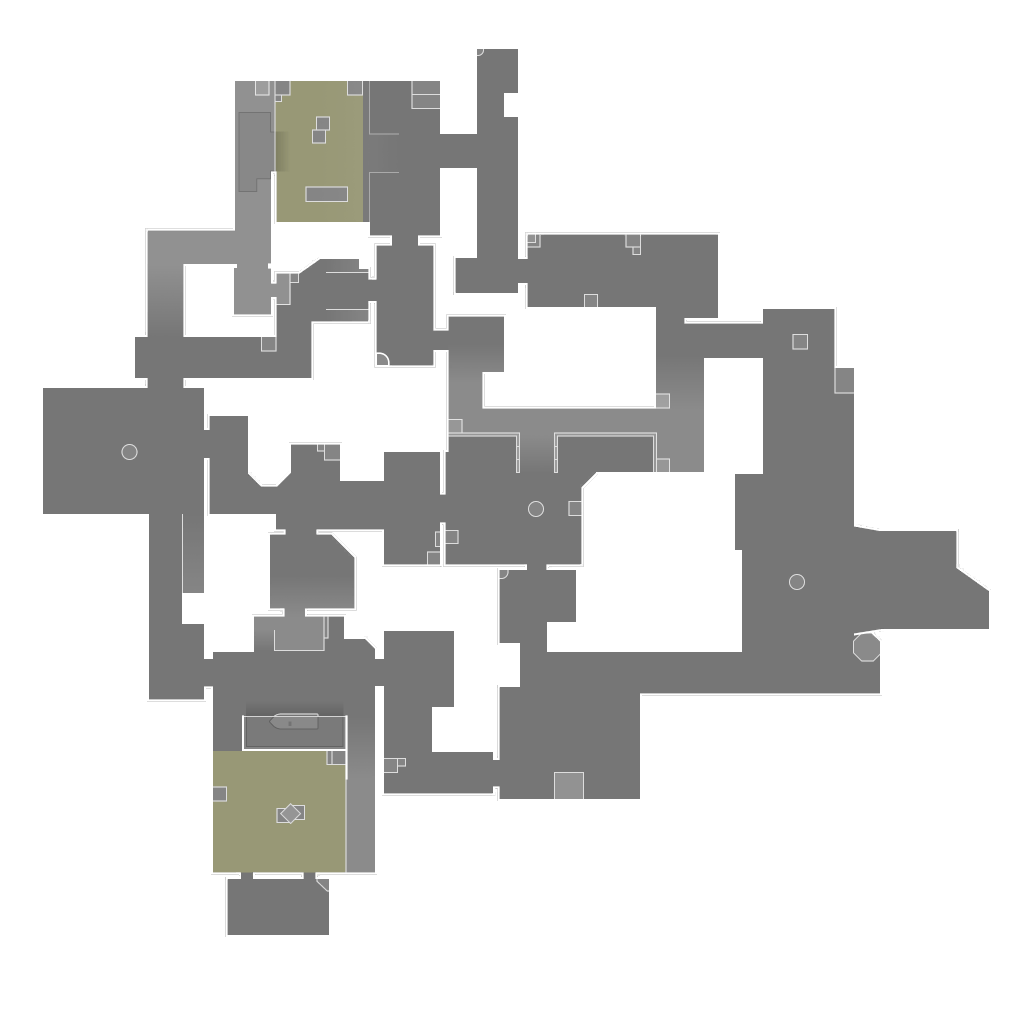 Ascent
Ascent has two sites with doors that can fortify them. A closed door changes whether you break through or take another route.
Before queueing, pick one site approach. Identify the door that can block your route and name a fallback path if it closes.
Source limit: Riot describes the doors and sites, not the best route for a particular round.
Ask the field manual about Ascent →Build a practice plan with Ascent →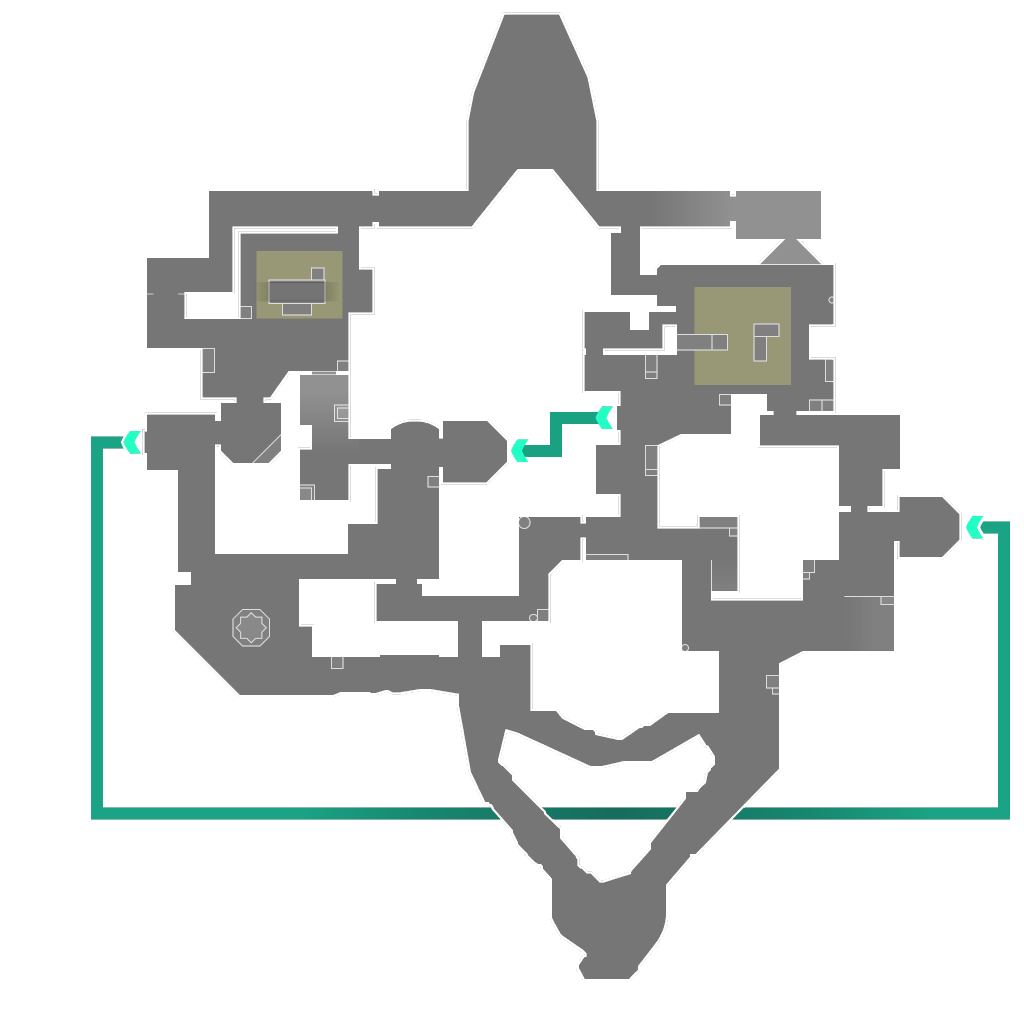 Bind
Bind
Bind has two sites and no middle route. Its one-way teleporters can change how a team moves after committing to one side.
Trace one direct route to each site in a custom game. Identify one teleporter exit and name the information that would make your team change its plan.
Source limit: Riot confirms the layout and teleporters, not an optimal attack route or rotation.
Ask the field manual about Bind →Build a practice plan with Bind →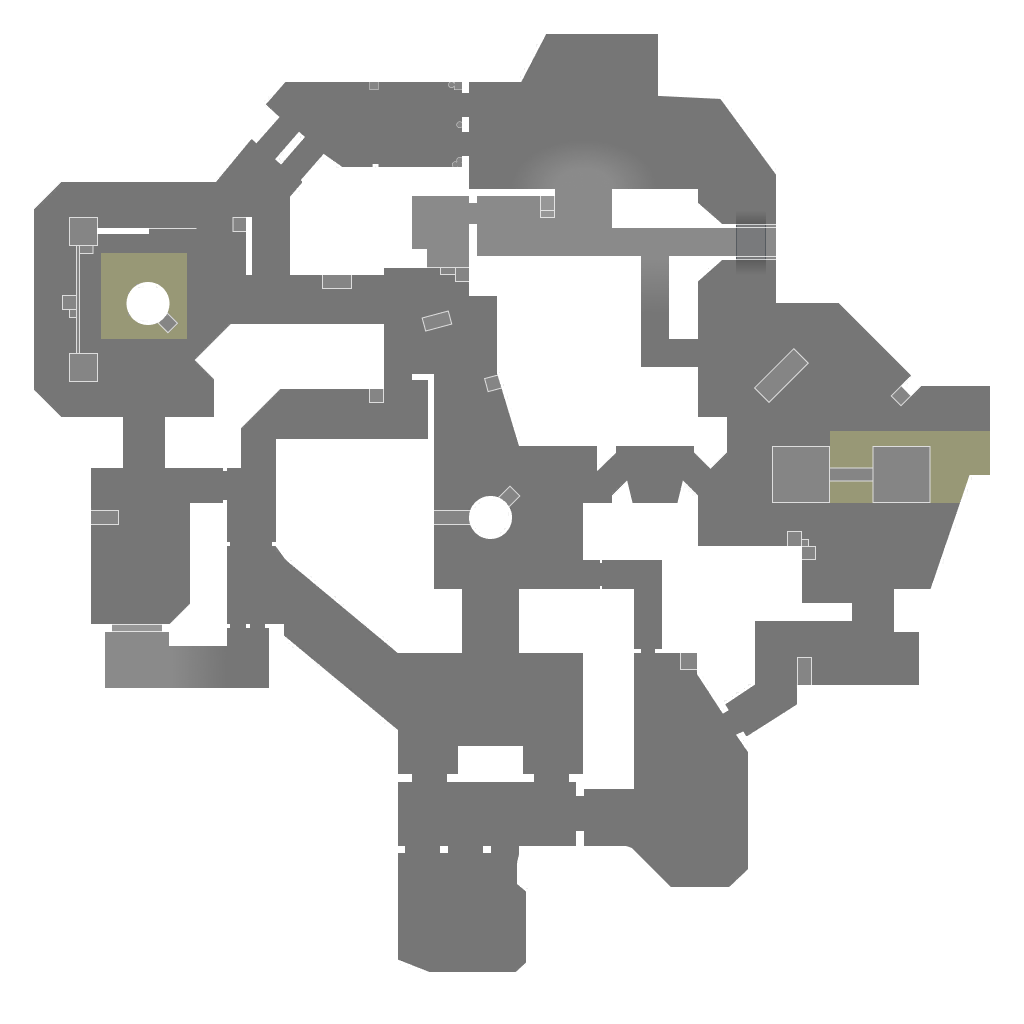 Breeze
Breeze has open space and long-range engagements around ruins and seaside caves. A route needs cover and a flank check.
Before a match, trace one approach from the ruins or caves in a custom game. Point out the long angle you would check from cover, the flank a teammate should watch, and where you would back out if the angle is held.
Source limit: Riot describes open spaces, long-range fights, and flanks, not an exact sightline, safe cover, or the stronger approach.
Ask the field manual about Breeze →Build a practice plan with Breeze →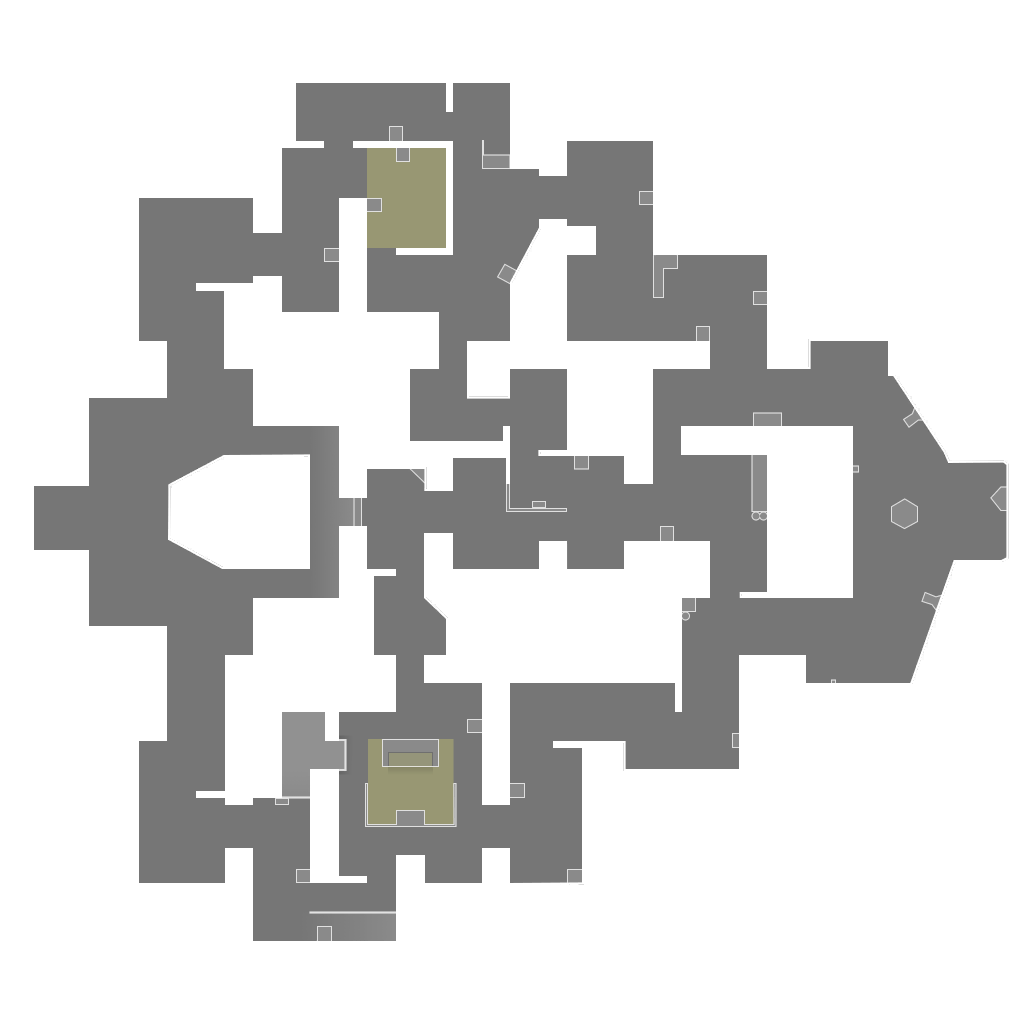 Corrode
Corrode has three lanes through medieval streets and layered defenses. Compare an approach through one lane with a second route before choosing where to commit.
Before a match, walk one lane toward a site in a custom game. Mark an angle beyond the next street corner and the cover you would return to if it is held; then trace a different lane as your fallback.
Source limit: Riot describes three lanes and layered defenses, not the exact angle, a safe route, or the better lane for a round.
Ask the field manual about Corrode →Build a practice plan with Corrode →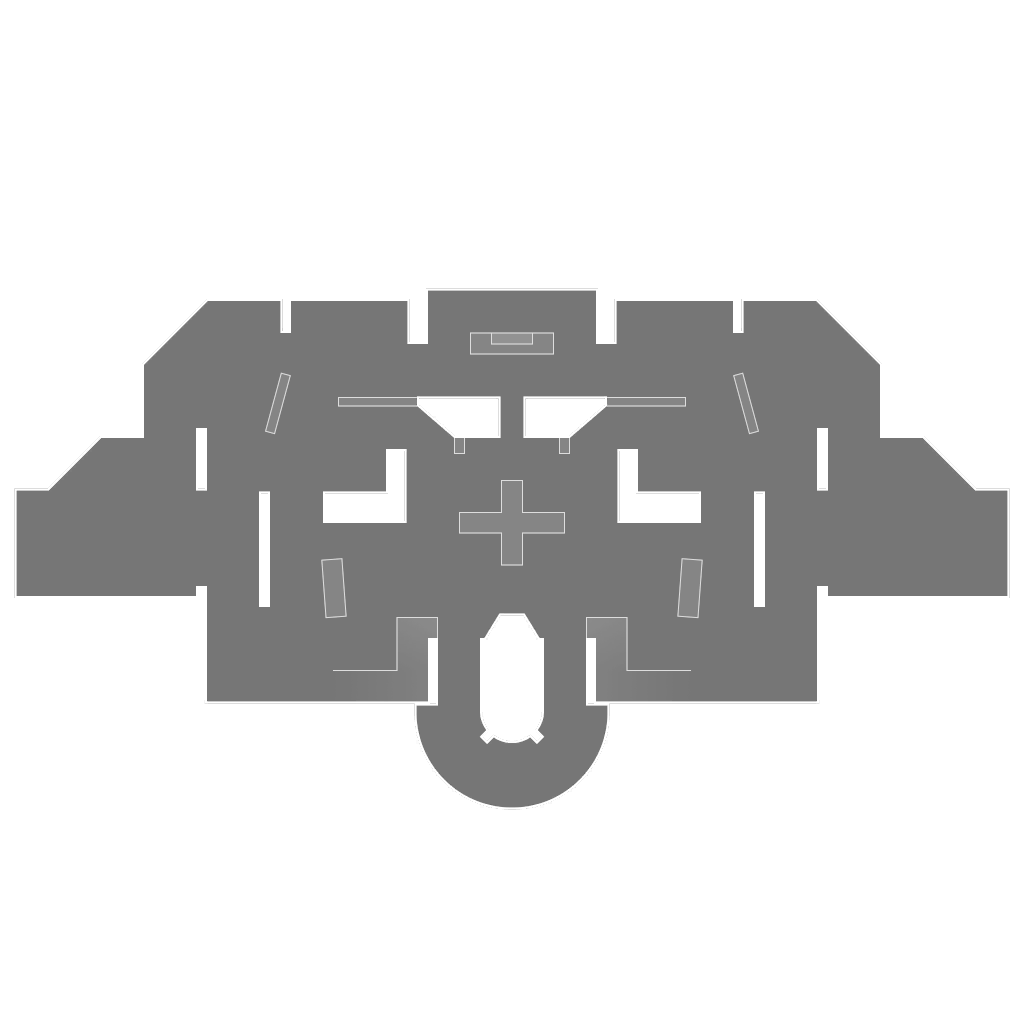 District
District is a Team Deathmatch map. Recovery orbs are a possible shared objective, with opponents able to contest them.
Before Team Deathmatch, trace a route from spawn to one recovery orb on District. Mark an angle to check before the pickup and a retreat route if enemies hold that space.
Source limit: Riot names District and describes recovery orbs across Team Deathmatch maps; its current map directory omits District and the article gives no exact orb location or safe route.
Ask the field manual about District →Build a practice plan with District →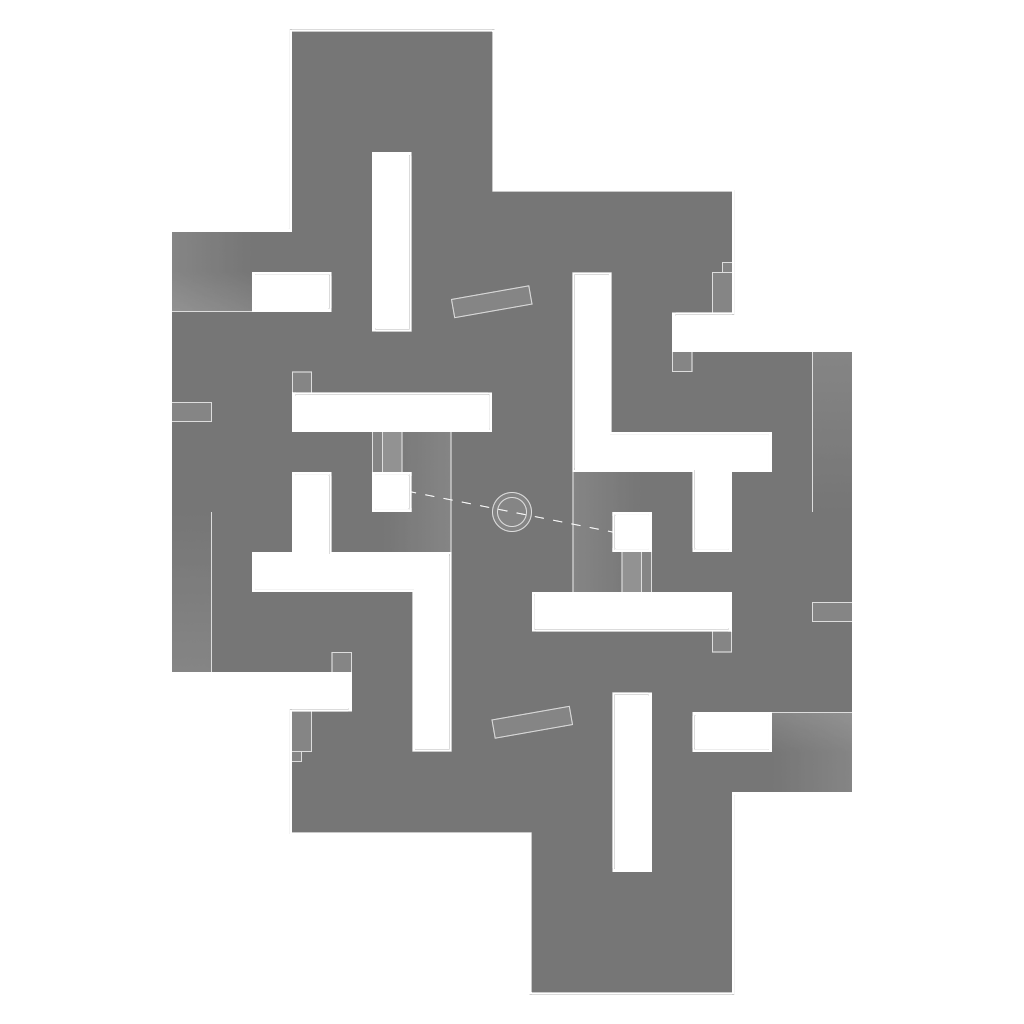 Drift
Drift
Drift is a Team Deathmatch map with long-range mid, isolated side lanes, and ways to change lanes.
Before Team Deathmatch, compare a mid route with a side lane on Drift. Mark the long angle to check from cover and a lane-change point to use if your first route is held.
Source limit: Riot described these lanes at launch; its current map directory omits Drift and the patch does not verify today’s exact angles or a safe lane change.
Ask the field manual about Drift →Build a practice plan with Drift →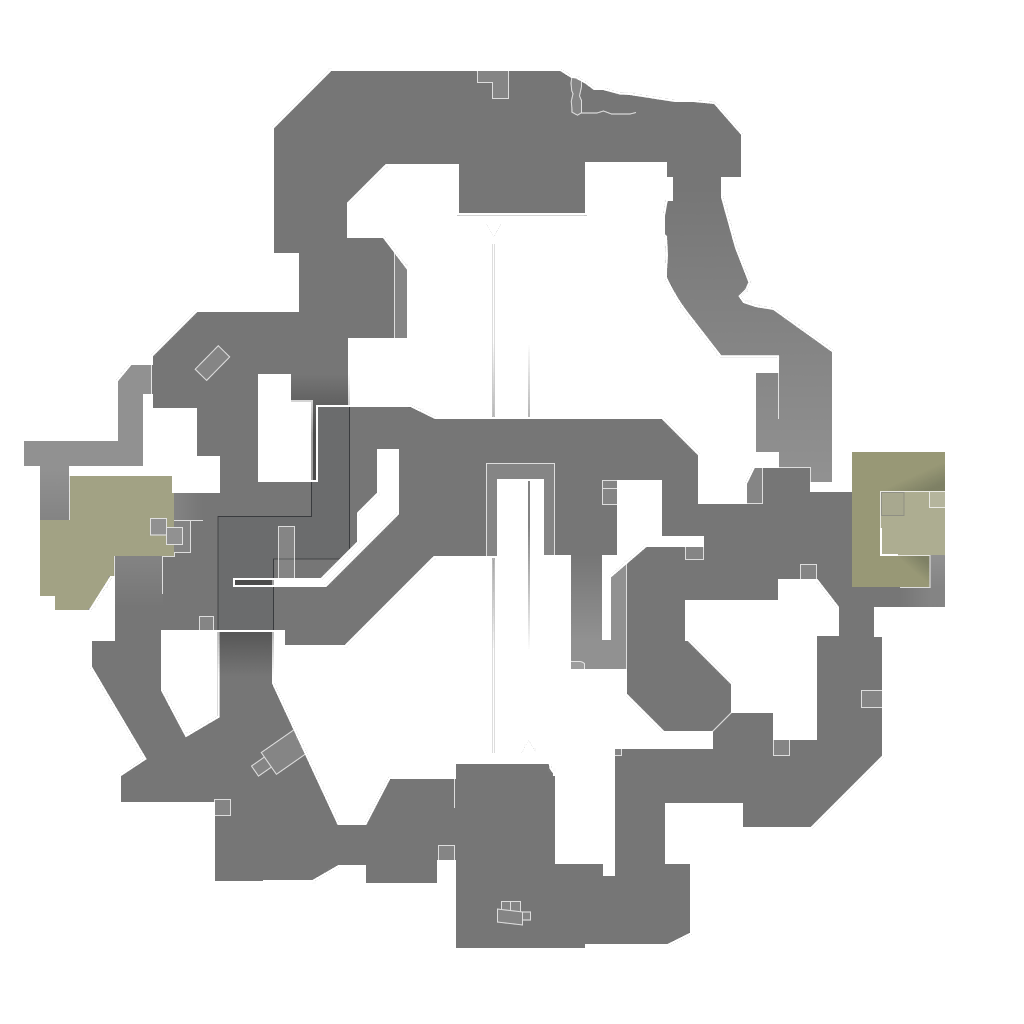 Fracture
Fracture gives defenders a choice between meeting attackers forward and holding back at a site. Prepare for either contact point.
Before a match, walk one defender route toward an attacker approach in a custom game. Mark the first angle you would check, then trace a route back to site cover if that space is contested; call which position you would hold next.
Source limit: Riot describes the defender choice, not a safe forward position, exact retreat path, or preferred hold.
Ask the field manual about Fracture →Build a practice plan with Fracture →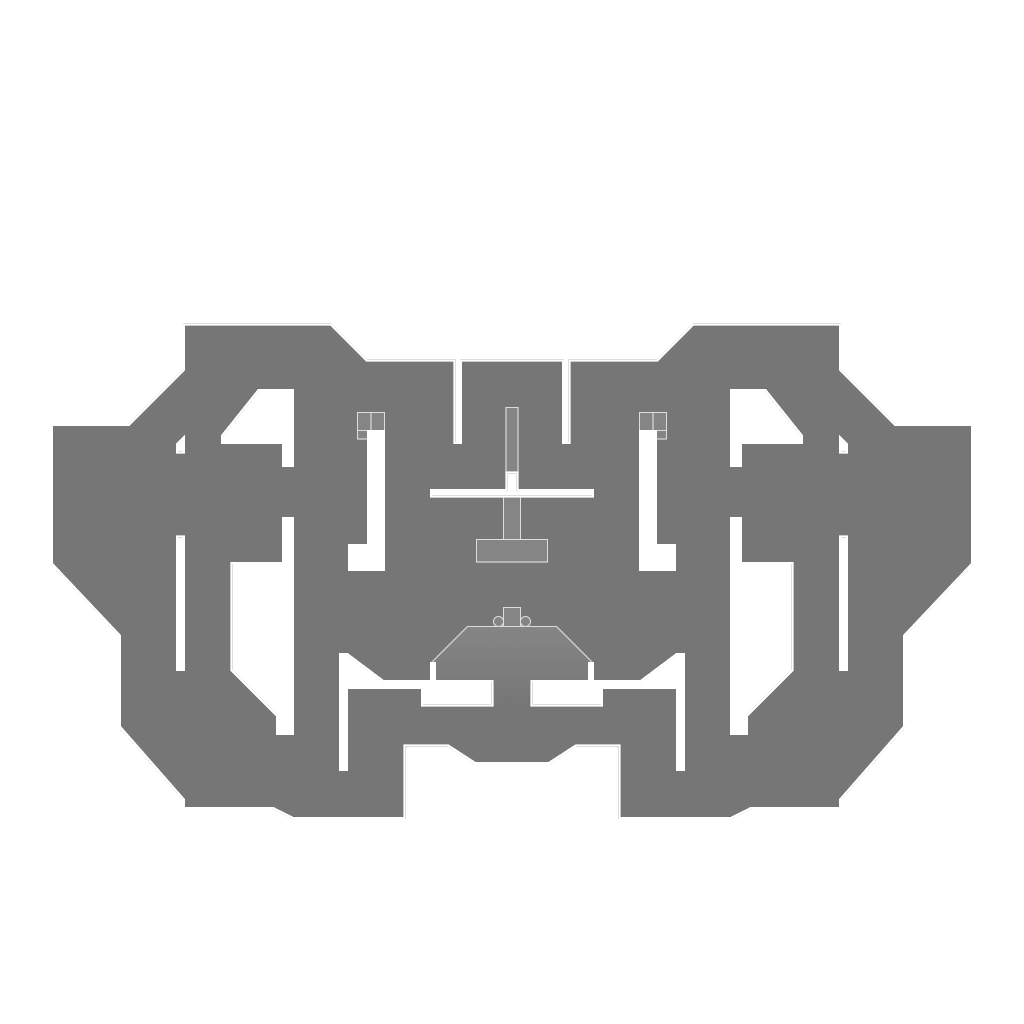 Glitch
Glitch is a Team Deathmatch map set in a dual-themed Maxbot arena. Treat the first approach as a route to inspect, not a known safe path.
Before Team Deathmatch, trace one route out of spawn on Glitch. Mark the first exposed angle, cover to return to if it is held, and a second route to try after respawning.
Source limit: Riot confirms Glitch’s Team Deathmatch mode and theme; its current map directory omits Glitch and the patch gives no route geometry or safe angle.
Ask the field manual about Glitch →Build a practice plan with Glitch →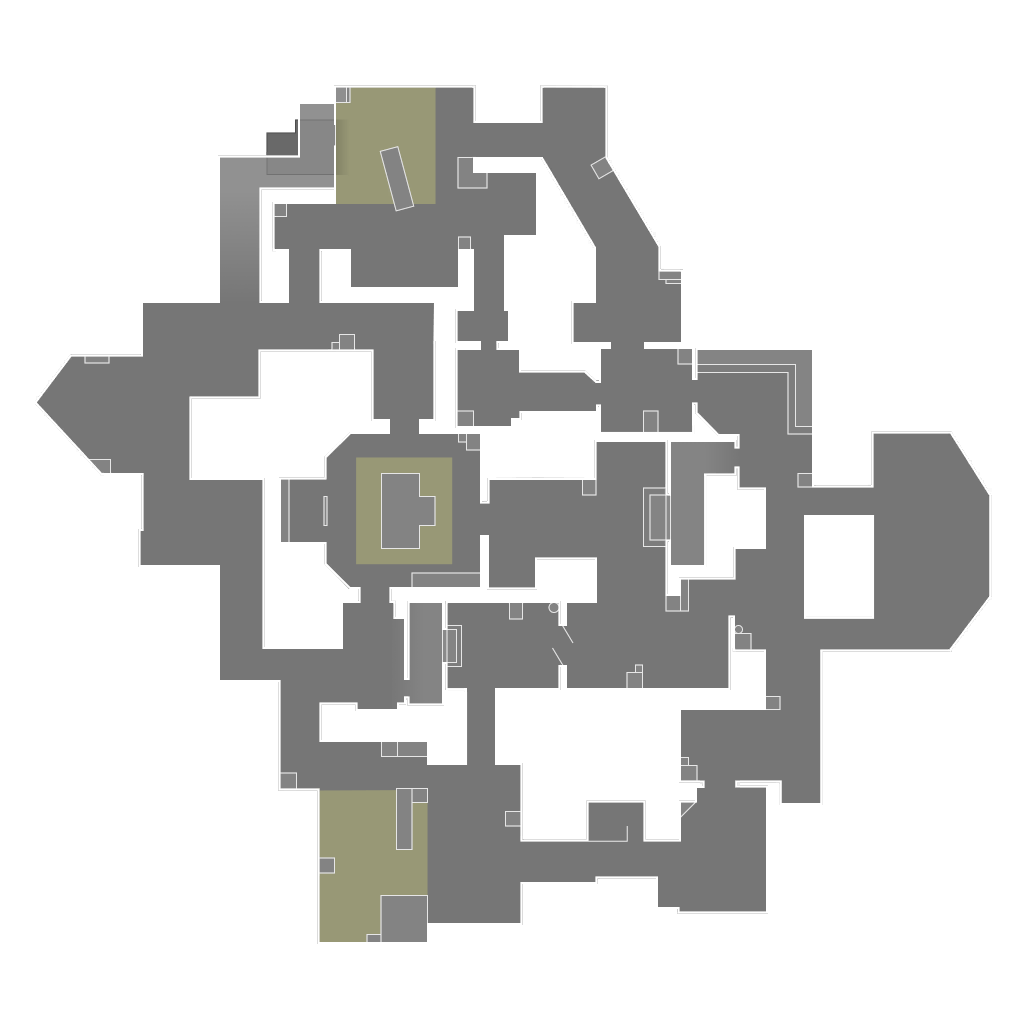 Haven
Haven
Haven has three sites, so a team must decide which space to hold and what information justifies a rotation.
Trace one rotation between two sites in a custom game. Name the callout that would trigger it and the area a teammate must keep covered.
Source limit: Riot confirms the three-site layout, not that any rotation is optimal.
Ask the field manual about Haven →Build a practice plan with Haven →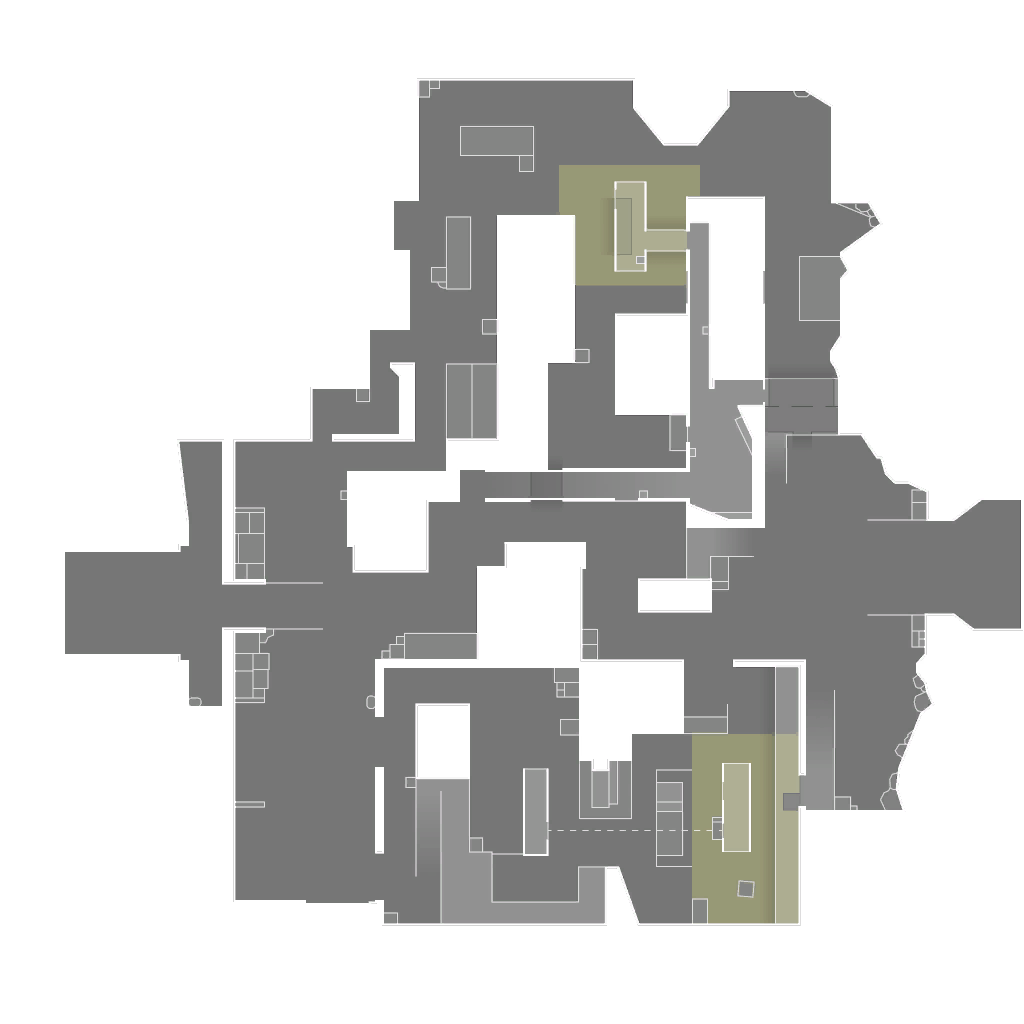 Icebox
Icebox has two sites with snow, metal cover, and ziplines. Plan how you will check both the ground route and a raised approach.
Before a match, walk from a site entrance toward a zipline in a custom game. Mark one ground-level angle and one elevated angle to check before crossing; name the cover you will return to if either is held.
Source limit: Riot describes the sites and ziplines, not a safe crossing, exact angle order, or a preferred fallback.
Ask the field manual about Icebox →Build a practice plan with Icebox →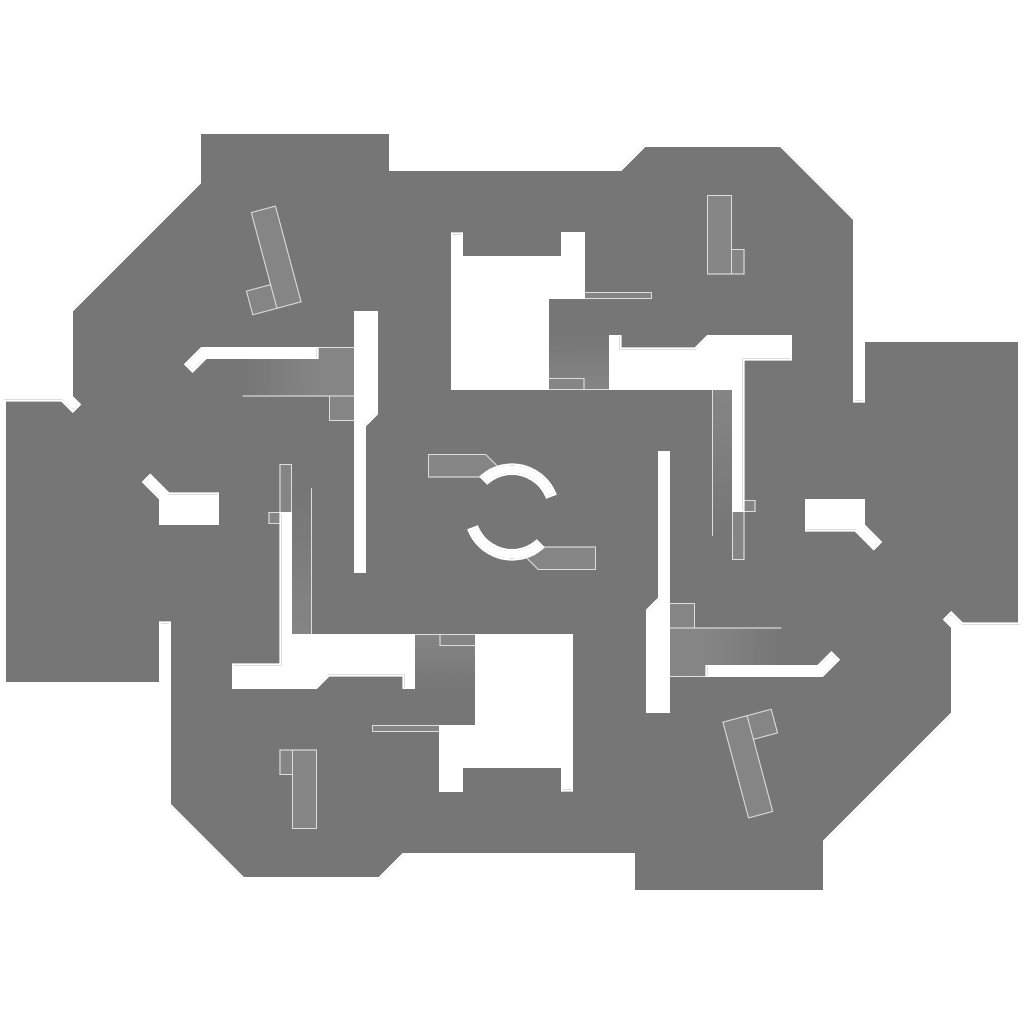 Kasbah
Kasbah is a Team Deathmatch map. An ultimate orb can draw both teams toward the same space.
Before Team Deathmatch, find one ultimate orb route on Kasbah. Mark the angle to check from cover, a teammate call before approaching, and where to fall back if the orb is contested.
Source limit: Riot names Kasbah and describes ultimate orbs across Team Deathmatch maps; its current map directory omits Kasbah and the article gives no exact orb location or safe route.
Ask the field manual about Kasbah →Build a practice plan with Kasbah →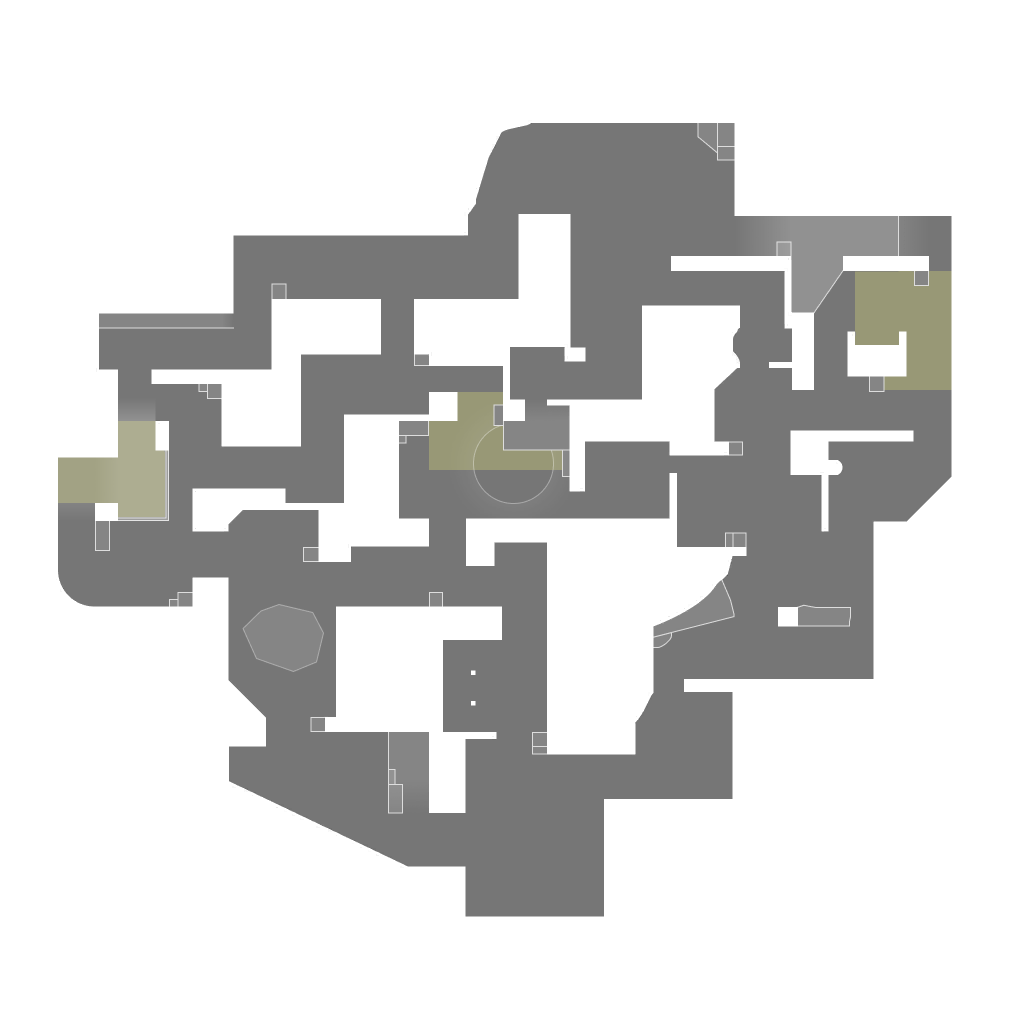 Lotus
Lotus
Lotus has three sites and stone doors that open different paths. Decide what you will check when a door changes the route.
In a custom game, approach one stone door, mark an angle to check before opening it, then walk the newly available path. Rehearse returning to cover and calling a different site if the path is contested.
Source limit: Riot confirms the doors and three sites, not a safe door timing, an optimal route, or which site to choose.
Ask the field manual about Lotus →Build a practice plan with Lotus →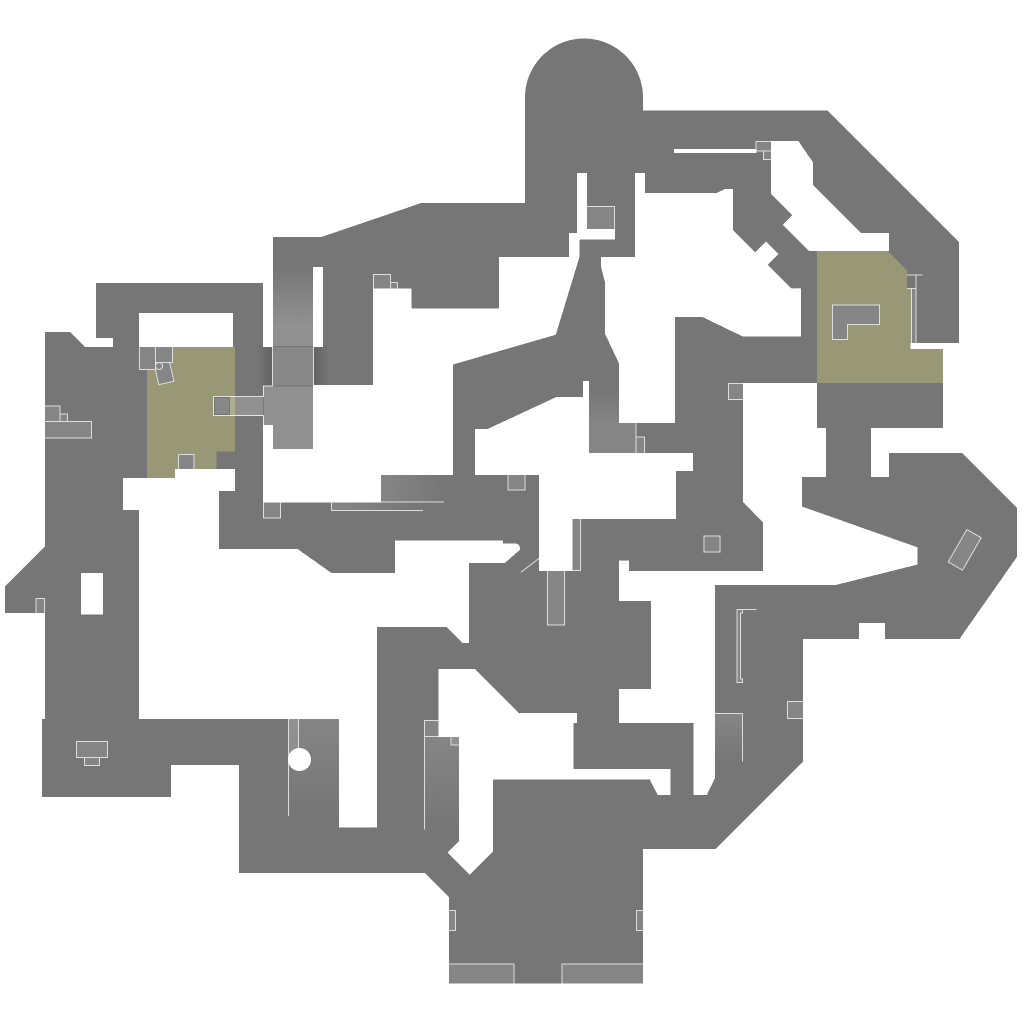 Pearl
Pearl
Pearl offers a compact mid and longer-range wings on a two-site map. Compare what you must check along each approach.
In a custom game, walk a route through mid and one along a wing. At the first exposed turn on each, name the angle to clear and nearby cover; rehearse backing out and choosing the other route if contact stops the first.
Source limit: Riot describes the two sites, compact mid, and longer wings, not exact sightlines, a safe crossing, or the stronger route.
Ask the field manual about Pearl →Build a practice plan with Pearl →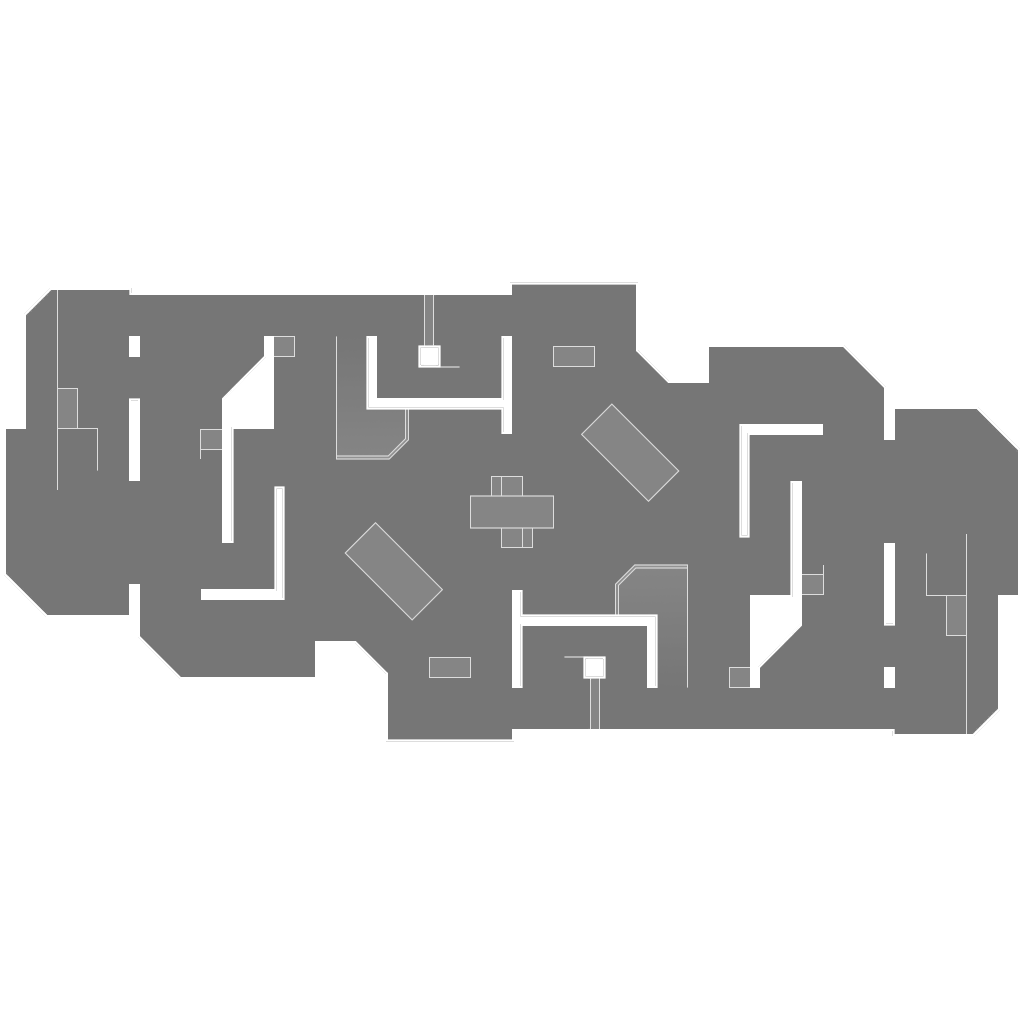 Piazza
Piazza is a Team Deathmatch map. Plan around a weapon spawner rather than a Spike site or buy phase.
Before Team Deathmatch, trace a route from spawn to one weapon spawner on Piazza. Mark the first angle to check and cover to return to if the pickup is contested.
Source limit: Riot names Piazza and describes Team Deathmatch spawners; its current map directory omits Piazza and the article gives no map-specific route or angle.
Ask the field manual about Piazza →Build a practice plan with Piazza →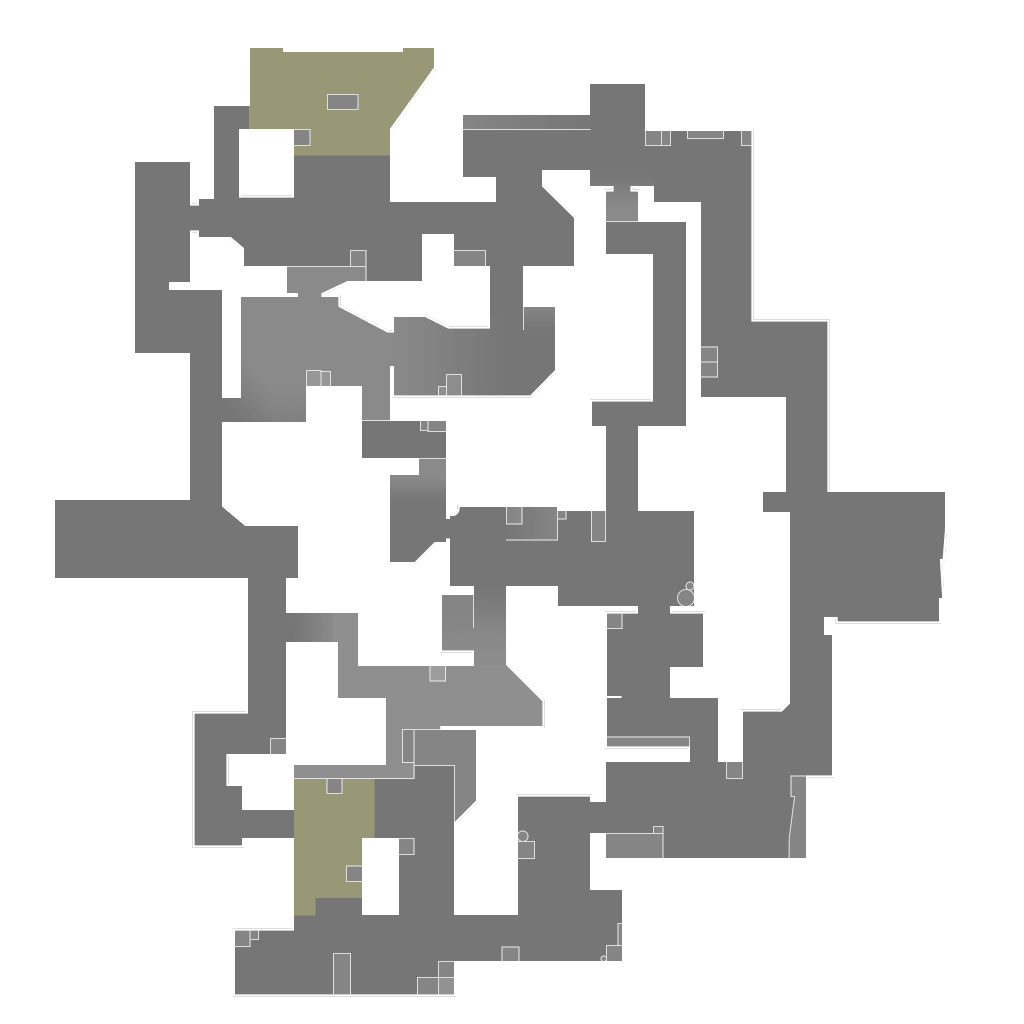 Split
Split
Split has an elevated center, two rope ascenders, and a tower overlooking each site. Check height as well as the route ahead.
In a custom game, walk from mid toward one site using an ascender. Pause before the climb to name an angle above you, then find cover below and rehearse falling back there if the tower is contested.
Source limit: Riot describes the elevated center, ascenders, and towers, not a safe climb, exact angle order, or preferred fallback.
Ask the field manual about Split →Build a practice plan with Split →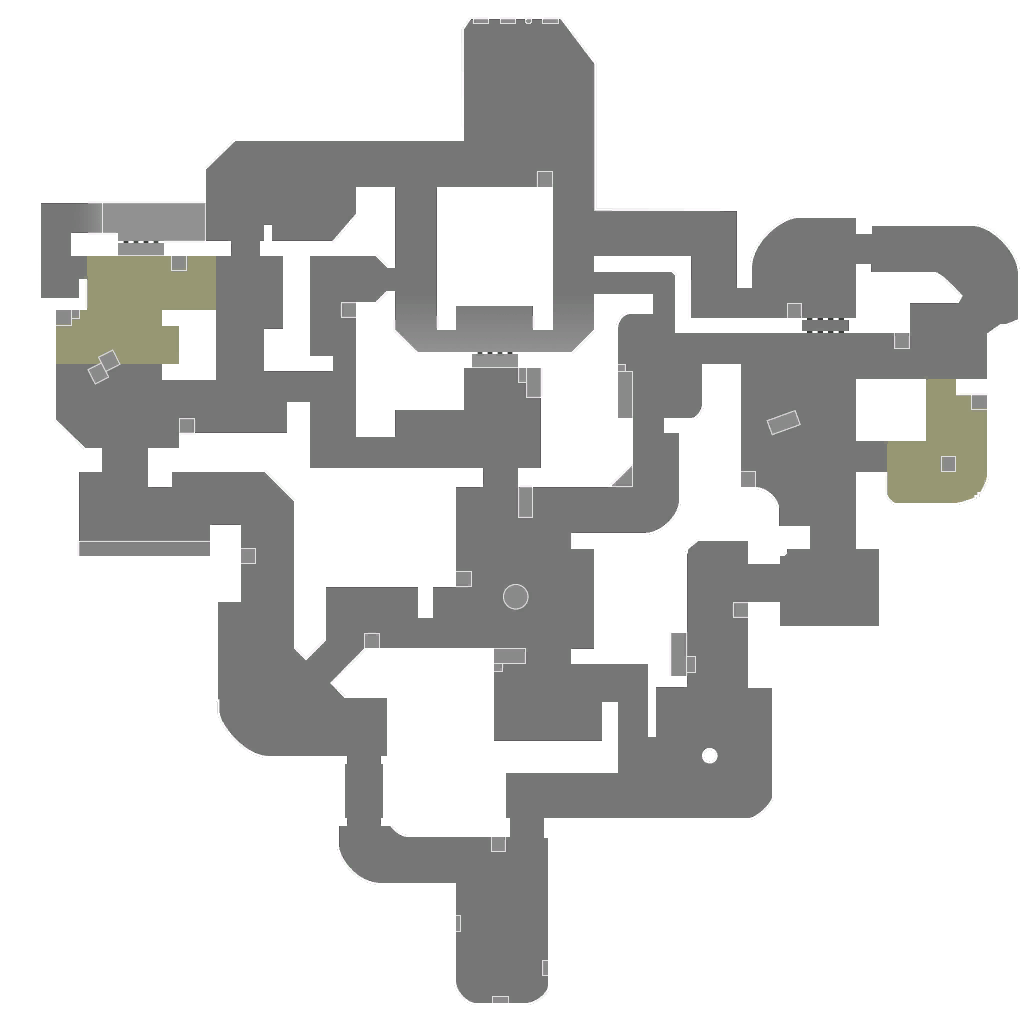 Summit
Summit has droppable walls that can change the route for an entire round. Prepare for the layout on either side of that change.
Before a match, trace a route toward one site in a custom game with a nearby droppable wall raised, then dropped. Mark the angle you would check on each version and a fallback if your planned path changes.
Source limit: Riot confirms the walls change the layout, not when to drop one, which route is safe, or a guaranteed advantage.
Ask the field manual about Summit →Build a practice plan with Summit →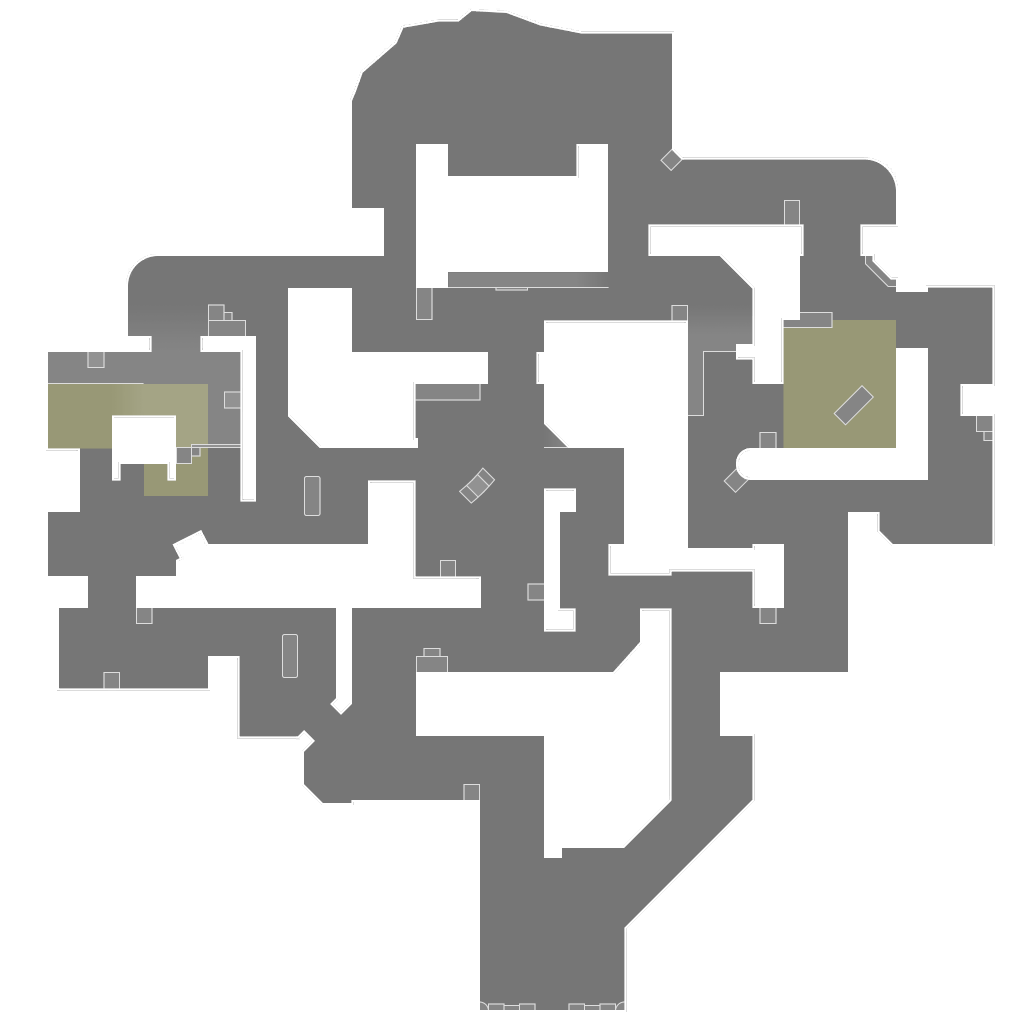 Sunset
Sunset has a traditional three-lane layout. Compare a middle route with an outer lane before committing to either.
In a custom game, walk the middle lane and one outer lane. At each first turn, point to an angle to check and cover to return to; rehearse backing out and calling a lane change if the approach is contested.
Source limit: Riot confirms the three-lane layout, not exact angle order, a safe rotation, or an optimal lane.
Ask the field manual about Sunset →Build a practice plan with Sunset →Rank emblems 25
Visual reference only. EcoRound does not calculate an alternative rank or MMR.
 IRON 1
 IRON 2
 IRON 3
 BRONZE 1
 BRONZE 2
 BRONZE 3
 SILVER 1
 SILVER 2
 SILVER 3
 GOLD 1
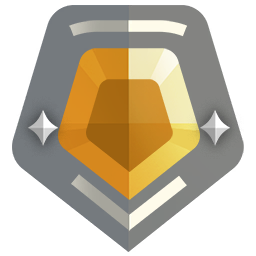 GOLD 2
 GOLD 3
 PLATINUM 1
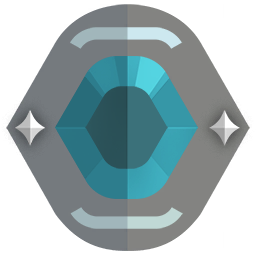 PLATINUM 2
 PLATINUM 3
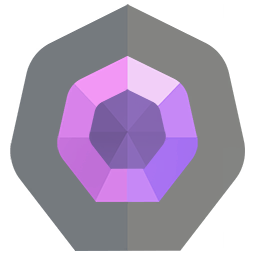 DIAMOND 1
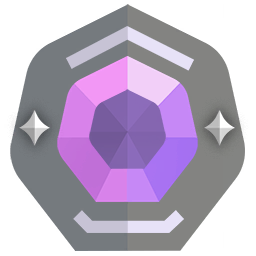 DIAMOND 2
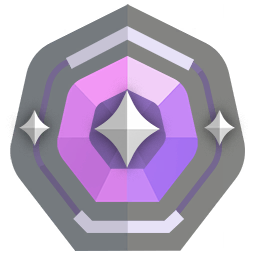 DIAMOND 3
 ASCENDANT 1
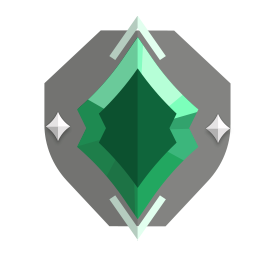 ASCENDANT 2
 ASCENDANT 3
 IMMORTAL 1
 IMMORTAL 2
 IMMORTAL 3
 RADIANT
Weapon field manual 21
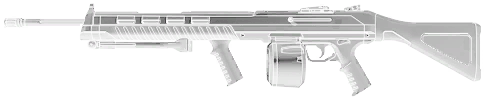 Ares
Ares
Use sustained fire when you can hold a committed lane; do not assume you can move and stay accurate.
Hold one defensive angle and compare your first shot timing with your follow-up spray.
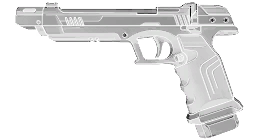 Bandit
Treat this sidearm as a close-range option. Plan how you will close distance before taking a fight.
Choose one short sightline and rehearse where you would disengage after a miss.
 Bucky
Bucky
Play near short sightlines and cover. A long open lane gives a shotgun little room to work.
Find two close corners where you can retreat after the first shot.
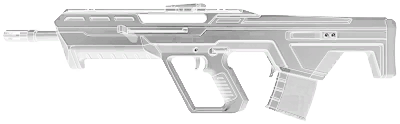 Bulldog
Use deliberate bursts and a stable position; buy it with a plan for the range you expect.
Practice stopping, firing a short burst, and resetting your crosshair.
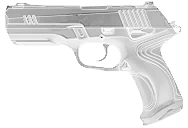 Classic
Use the free sidearm to support your round plan instead of forcing a long duel against a rifle.
On a low-credit round, pick one angle where a teammate can trade you.
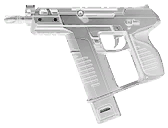 Frenzy
Favor close fights where its rapid fire can matter. Avoid stretching it across a long lane.
Practice one short peek, then move back to cover before reloading.
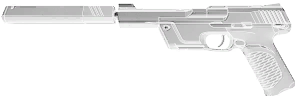 Ghost
Ghost
Take measured shots and keep your crosshair ready at head level.
Clear one angle at a time and reset between shots.
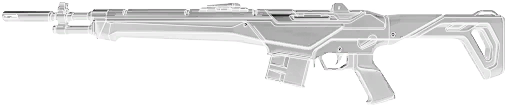 Guardian
Give each shot room to land. Patient crosshair placement matters more than volume.
Hold a medium or long angle and fire only after you have stopped.
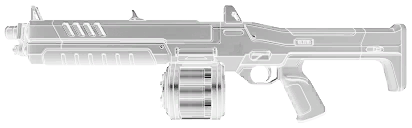 Judge
Judge
Choose a tight position where the fight starts inside shotgun range.
Pick a close angle and rehearse an exit after your first engagement.
 Marshal
Take a deliberate first shot from cover and have an exit before re-peeking.
Hold one long angle; after every shot, move to a second safe position.
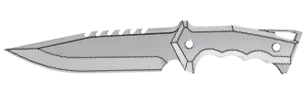 Melee
Melee
Use the knife for movement between safe positions, then ready your weapon before entering danger.
Mark the point on a route where you must switch back to your gun.
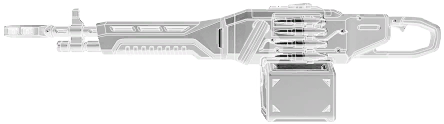 Odin
Odin
Commit to a position that rewards sustained fire, and coordinate with teammates before revealing it.
Practice controlling one lane, then reposition after you are spotted.
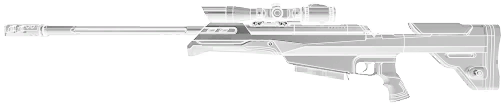 Operator
Riot presents the Operator as a sniper for controlling important ground. Choose a sightline with cover and a way out before taking the shot.
Before a match, pick one long lane and a fallback position. Rehearse taking one shot, returning to cover, and moving to the fallback instead of repeating an exposed peek.
Source limit: The Arsenal describes the weapon qualitatively, not shot timing or the best sightline on a map.
Ask the field manual about Operator →Build a practice plan with Operator →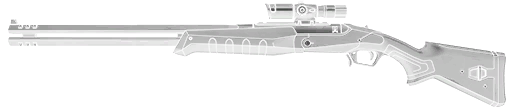 Outlaw
Plan around a limited magazine and the time needed to reset after shots.
Practice a shot, cover, and reposition cycle rather than staying exposed.
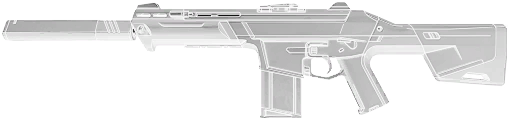 Phantom
Riot describes the Phantom as stable during extended fire. Use cover that lets you stop, fire, and reset without staying exposed.
In the range, compare a short burst with a longer controlled string at the same target. Before the match, choose cover and a fallback for one angle.
Source limit: The Arsenal gives a qualitative weapon description, not exact recoil behavior or a guaranteed duel advantage.
Ask the field manual about Phantom →Build a practice plan with Phantom →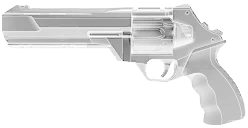 Sheriff
Make the first accurate shot count and leave room to reset if you miss.
Clear a long lane with deliberate single shots from cover.
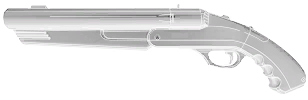 Shorty
Treat this as a very close-range tool and avoid exposing yourself across open space.
Identify a close corner and an escape path before the round starts.
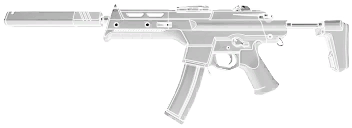 Spectre
Take fights at manageable distance and use cover to avoid long rifle duels.
Choose a short route that lets a teammate trade your first contact.
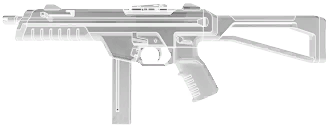 Stinger
Use short-range pressure and avoid taking a dry long-range fight.
Rehearse a close peek and a quick return to cover.
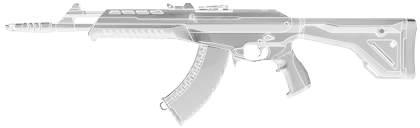 Vandal
Riot describes the Vandal as effective in small bursts. Set up a deliberate first shot and leave room to reset before another burst.
In the range, alternate one deliberate shot and one short burst at a fixed target. Reset your crosshair between attempts before taking that rhythm to one angle.
Source limit: The Arsenal gives a qualitative weapon description, not recoil timing or proof that this drill improves results.
Ask the field manual about Vandal →Build a practice plan with Vandal →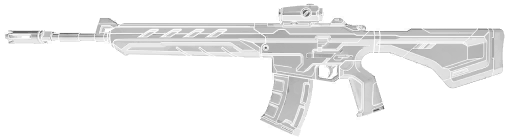 Warden
Build a short-range fight around cover rather than assuming every lane favors this sidearm.
Choose a close angle and decide where you will fall back after contact.
Game imagery © Riot Games. Reference labels checked against the VALORANT Wiki; images bundled from the VALORANT API asset mirror. EcoRound is unaffiliated with Riot Games.
This workspace contains no sample player, match, metric, personalized recommendation, or generated coaching answer. Field manual advice is general and drawn from linked game references.